Owner Configuration
Owner Sign In
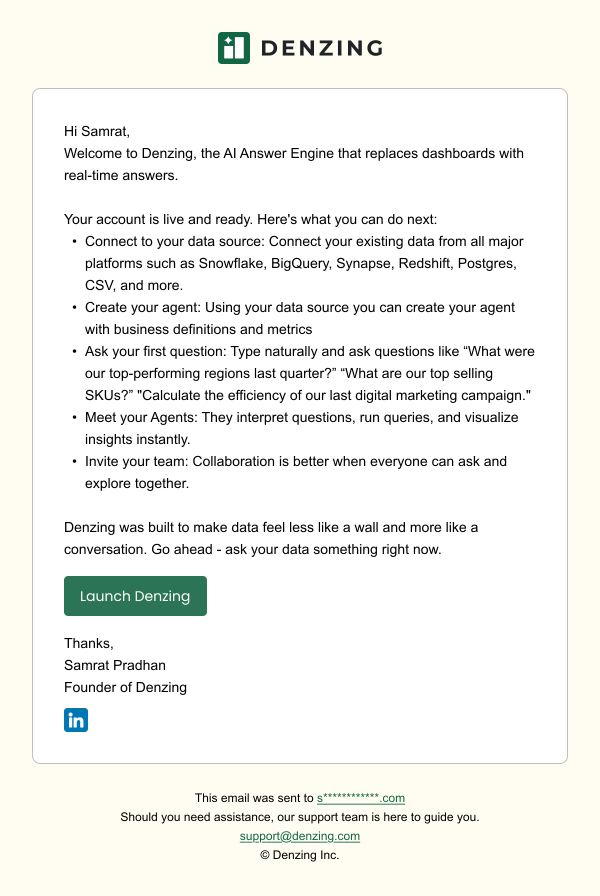
Step 1: Accept Invitation
Open the invitation email and click Launch Denzing.
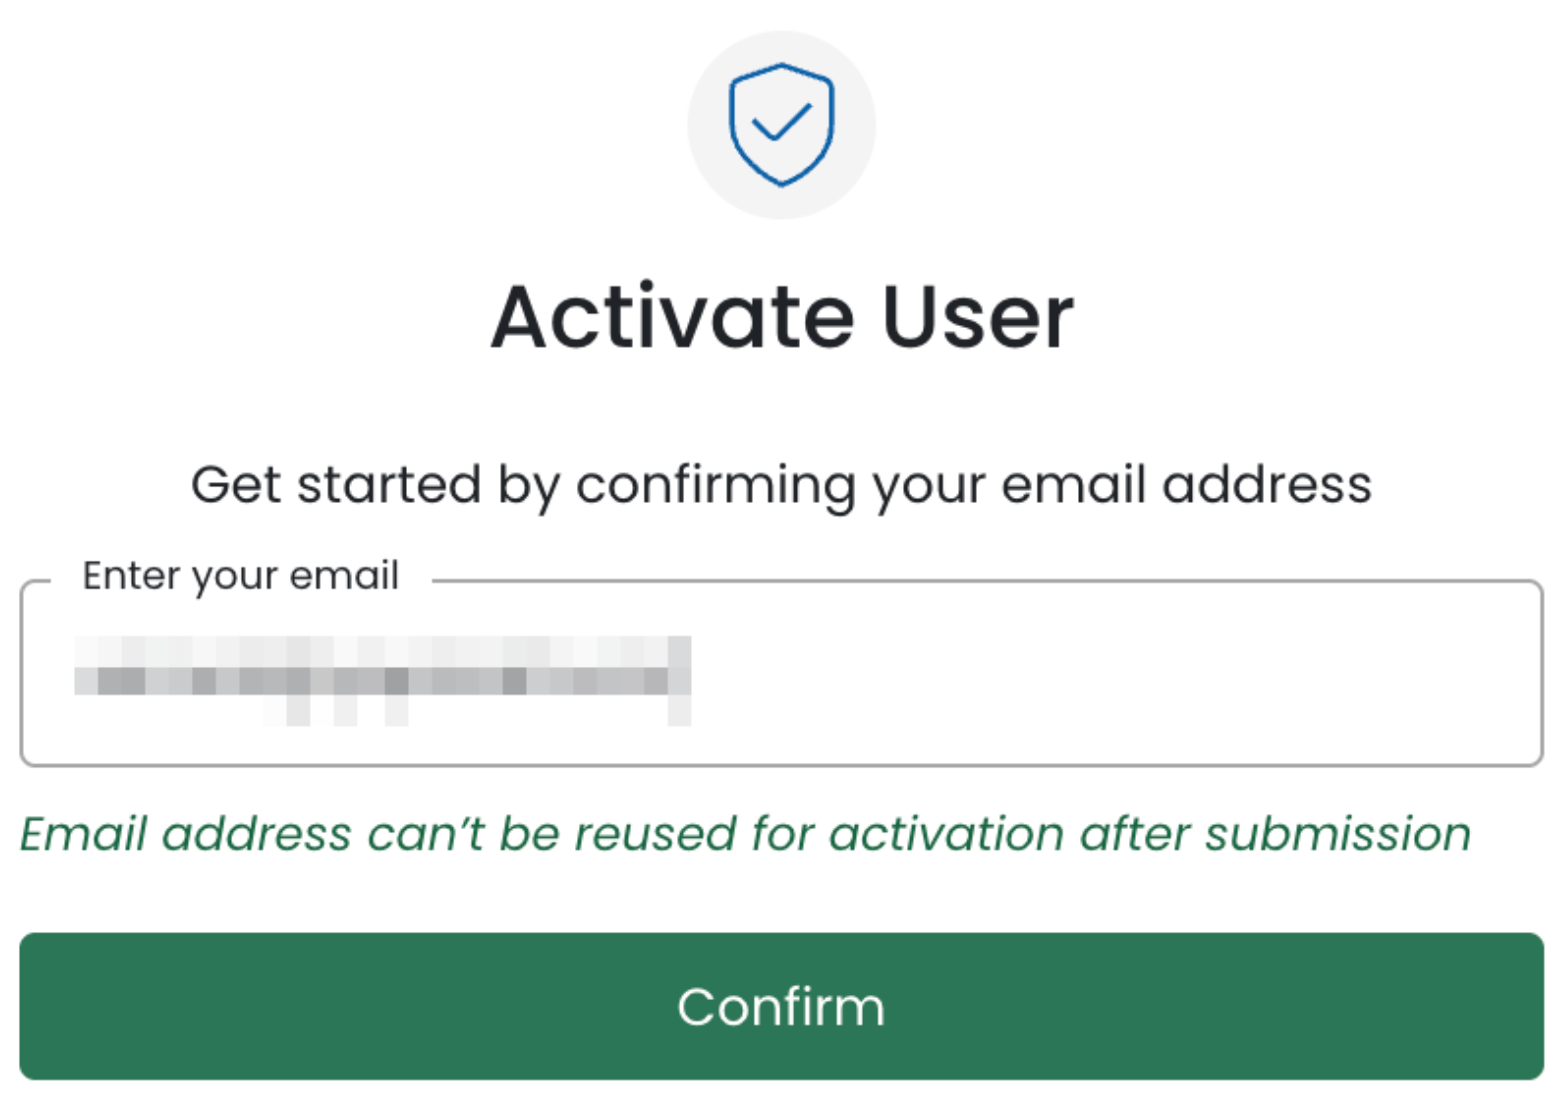
Step 2: Activate Account
Enter your email address on the activation page and click Confirm.
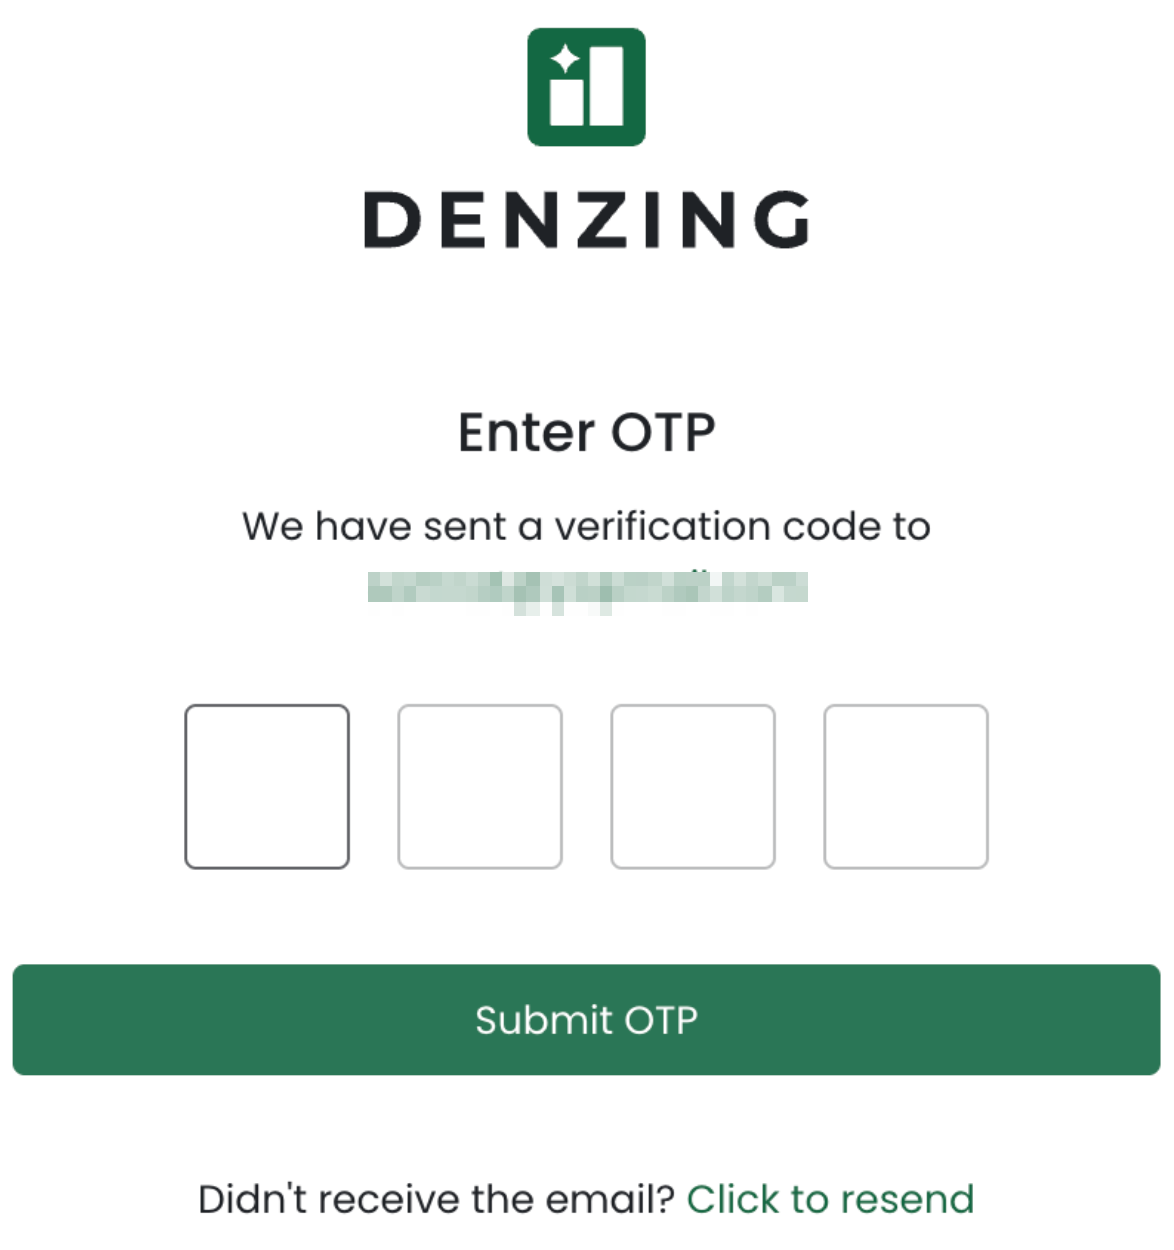
Step 3: Verify Email
Enter the verification code sent to your email. To receive a new code, click Resend if you don't receive an email.
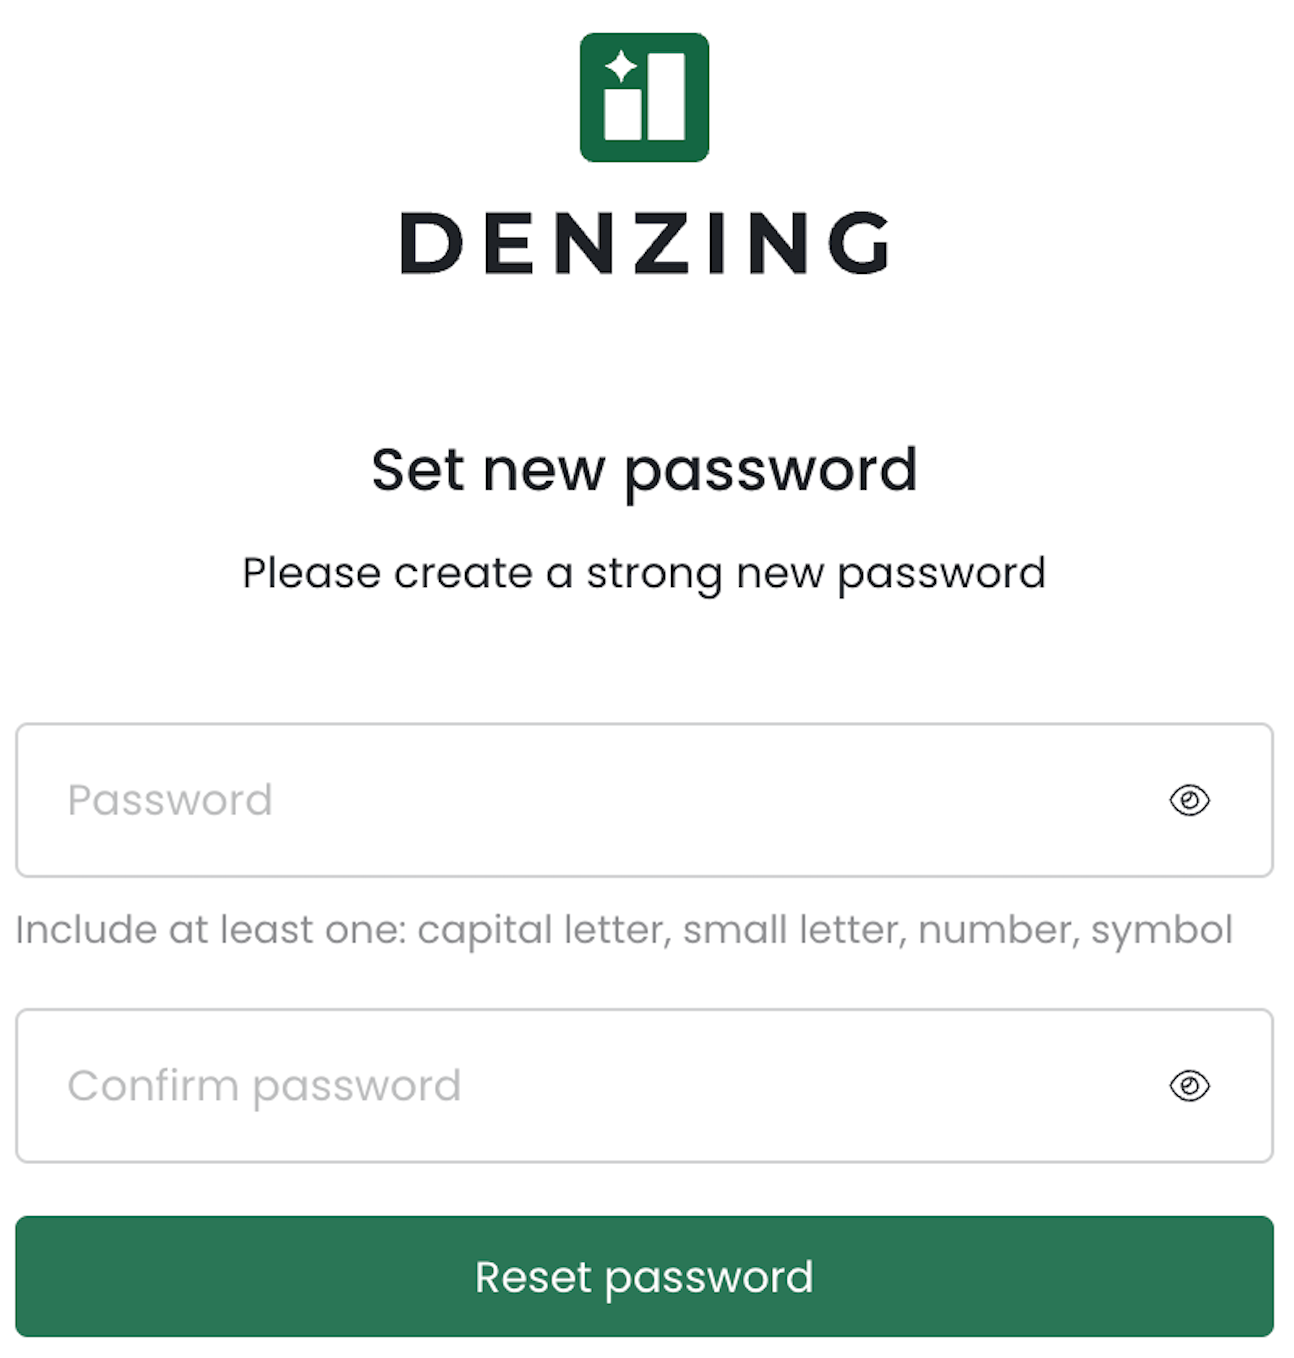
Step 4: Set Password
Create a secure password and complete setup. We recommend combining uppercase and lowercase letters, numbers, and symbols.
Step 5: Access Denzing
With your new password, sign in to enter the Denzing interface.
Manage Account
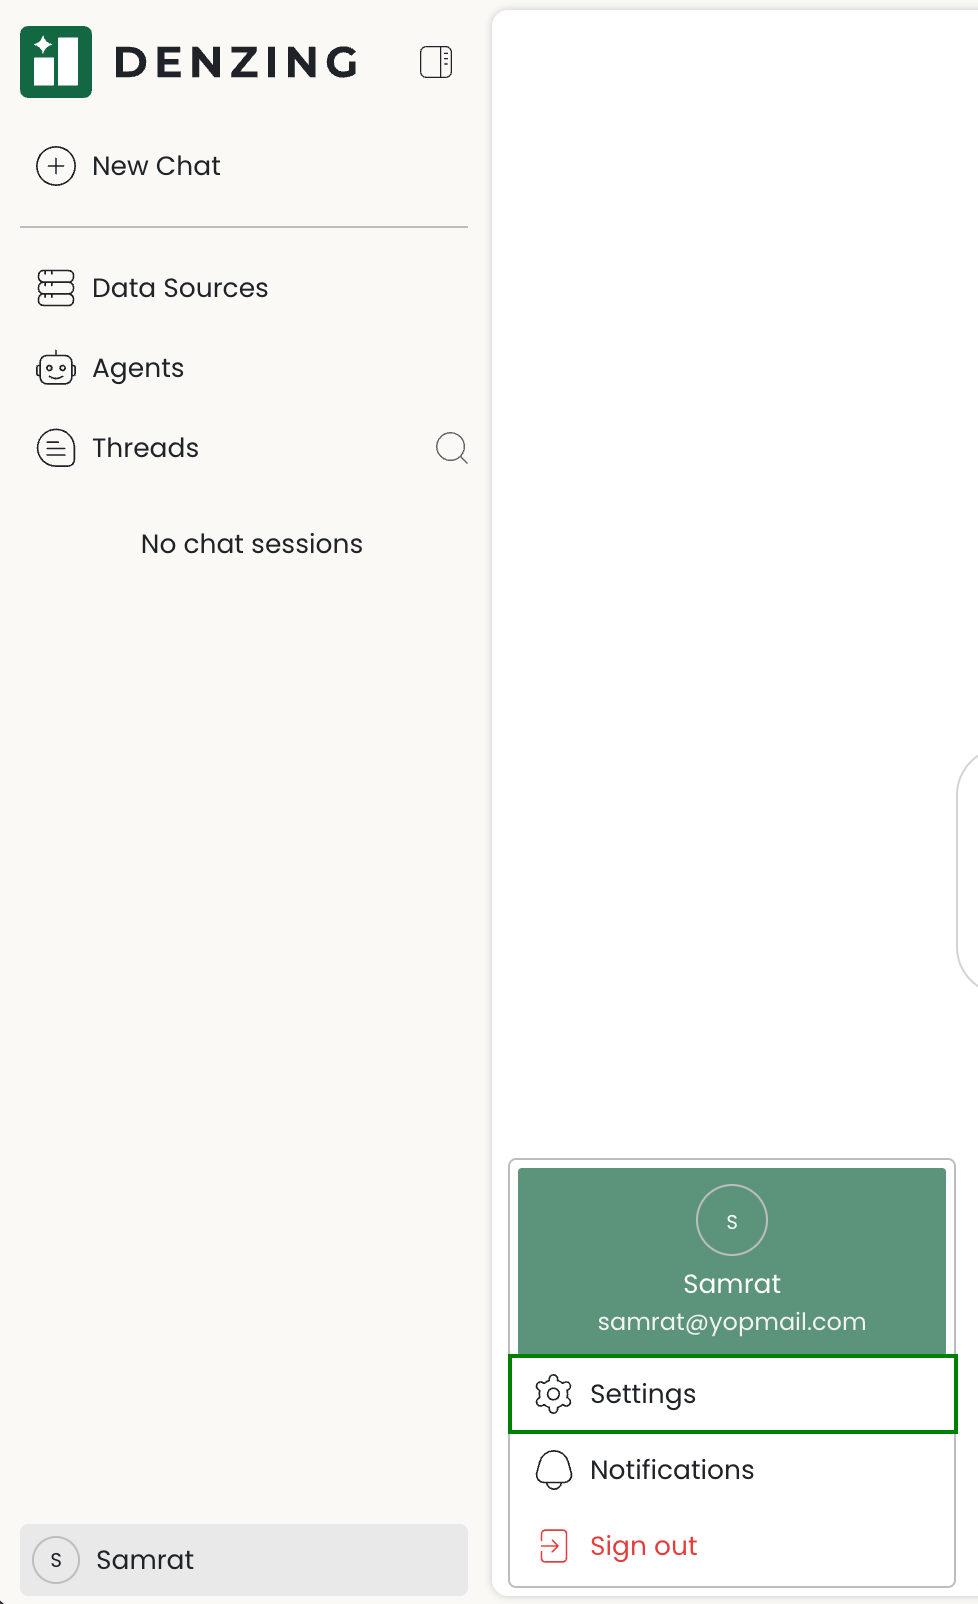
- Click your profile icon in the sidebar to access settings, notifications, and sign out options.
- Update Profile and Security
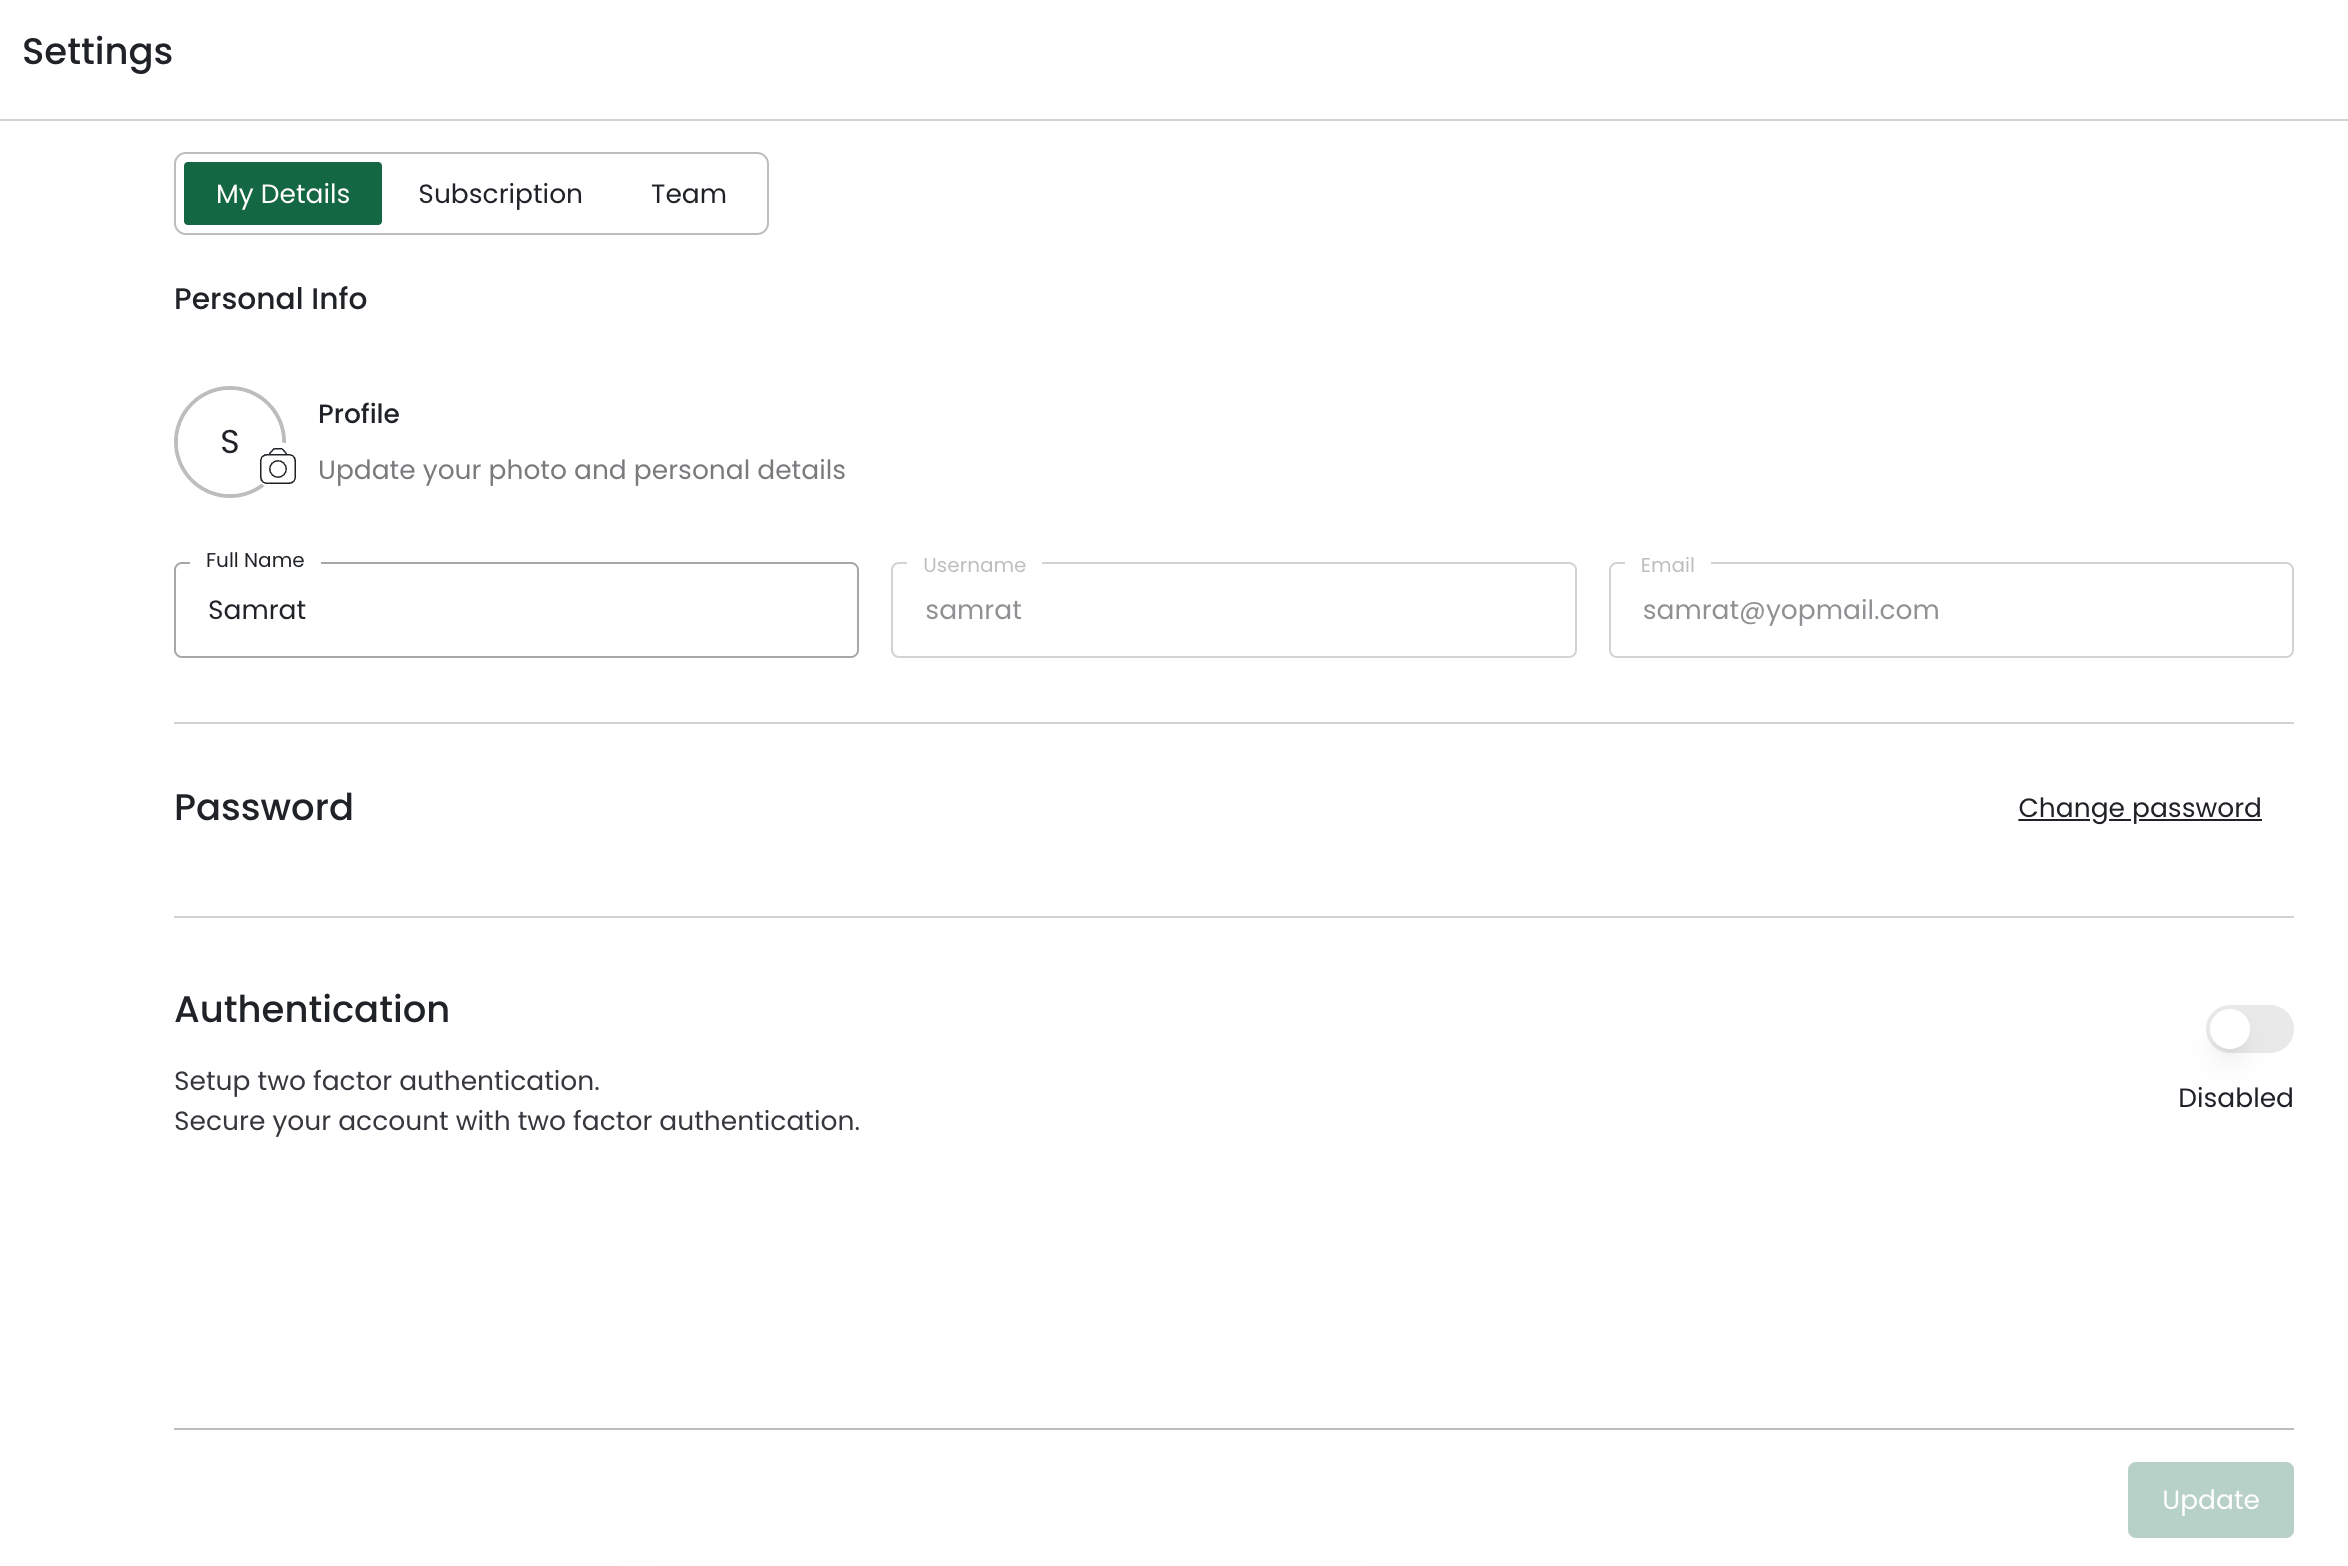
- In Settings, you can update your profile, change your password, and enable two-factor authentication. We highly recommend enabling two-factor authentication for added security.

Invite Team Members
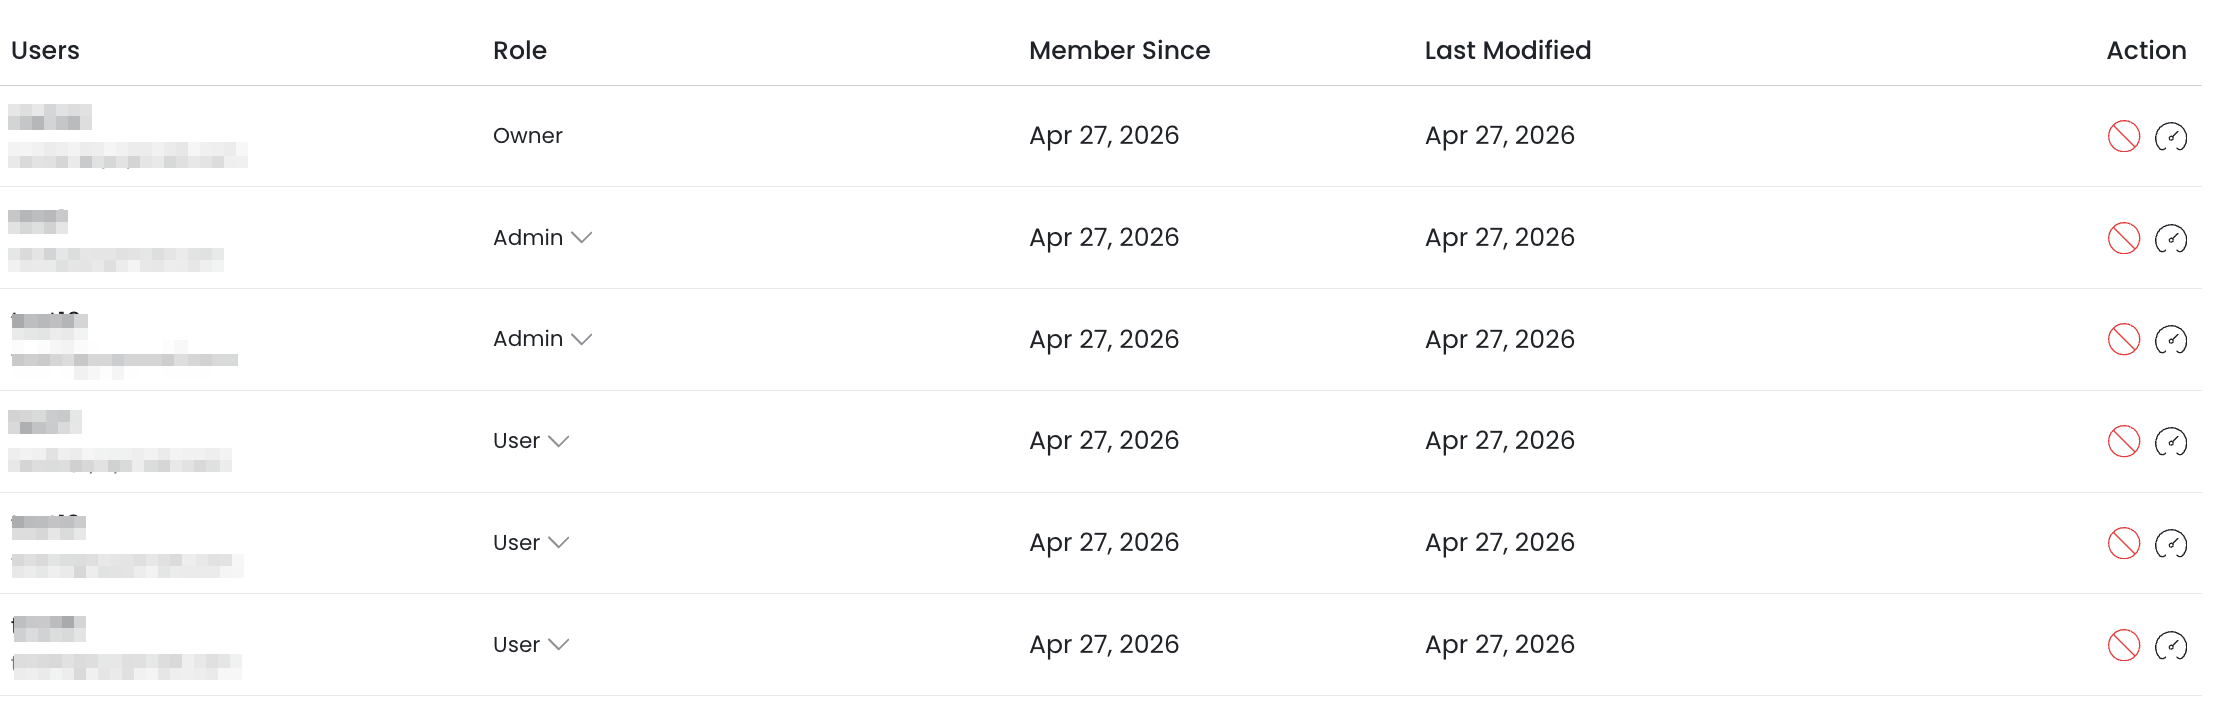
In the Team tab, you can see all users from your organization and manage them. Enter a user's email, assign a role, and click Invite to add them.

Transfer Ownership
Step 1: Open Team Settings
Go to Settings and select the Team tab. The Team page displays all current members of your organization along with their roles, join dates, and last modified dates.
Step 2: Select New Owner
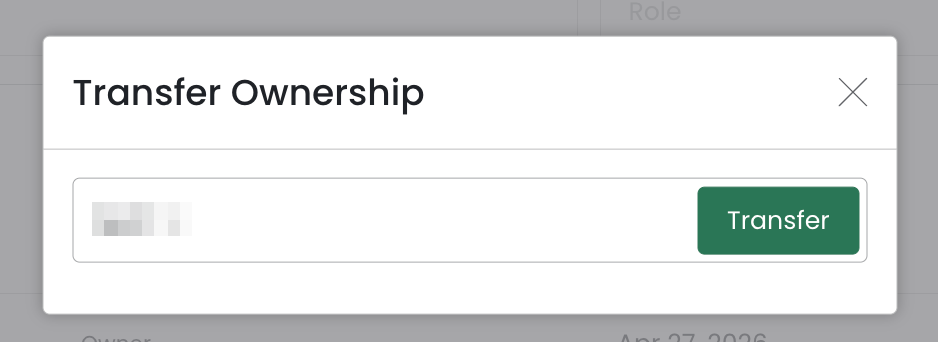
Click Transfer Ownership. Search for and select the member you want to assign as the new owner and click on Transfer.

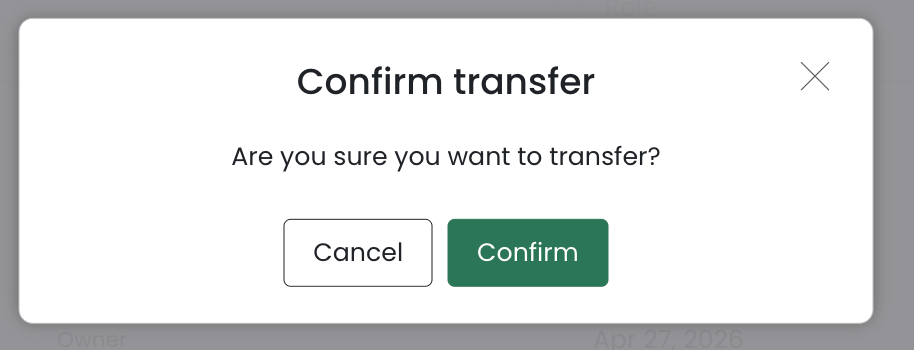
Step 3: Confirm Transfer
Review the confirmation prompt and click Confirm to proceed.
Step 4: Ownership Updated
A confirmation message appears and roles are updated immediately. The selected member becomes Owner and the previous Owner is reassigned as Admin. The transfer is immediate and cannot be undone; however, the new Owner can transfer ownership back to the previous Owner.