Schema Layer
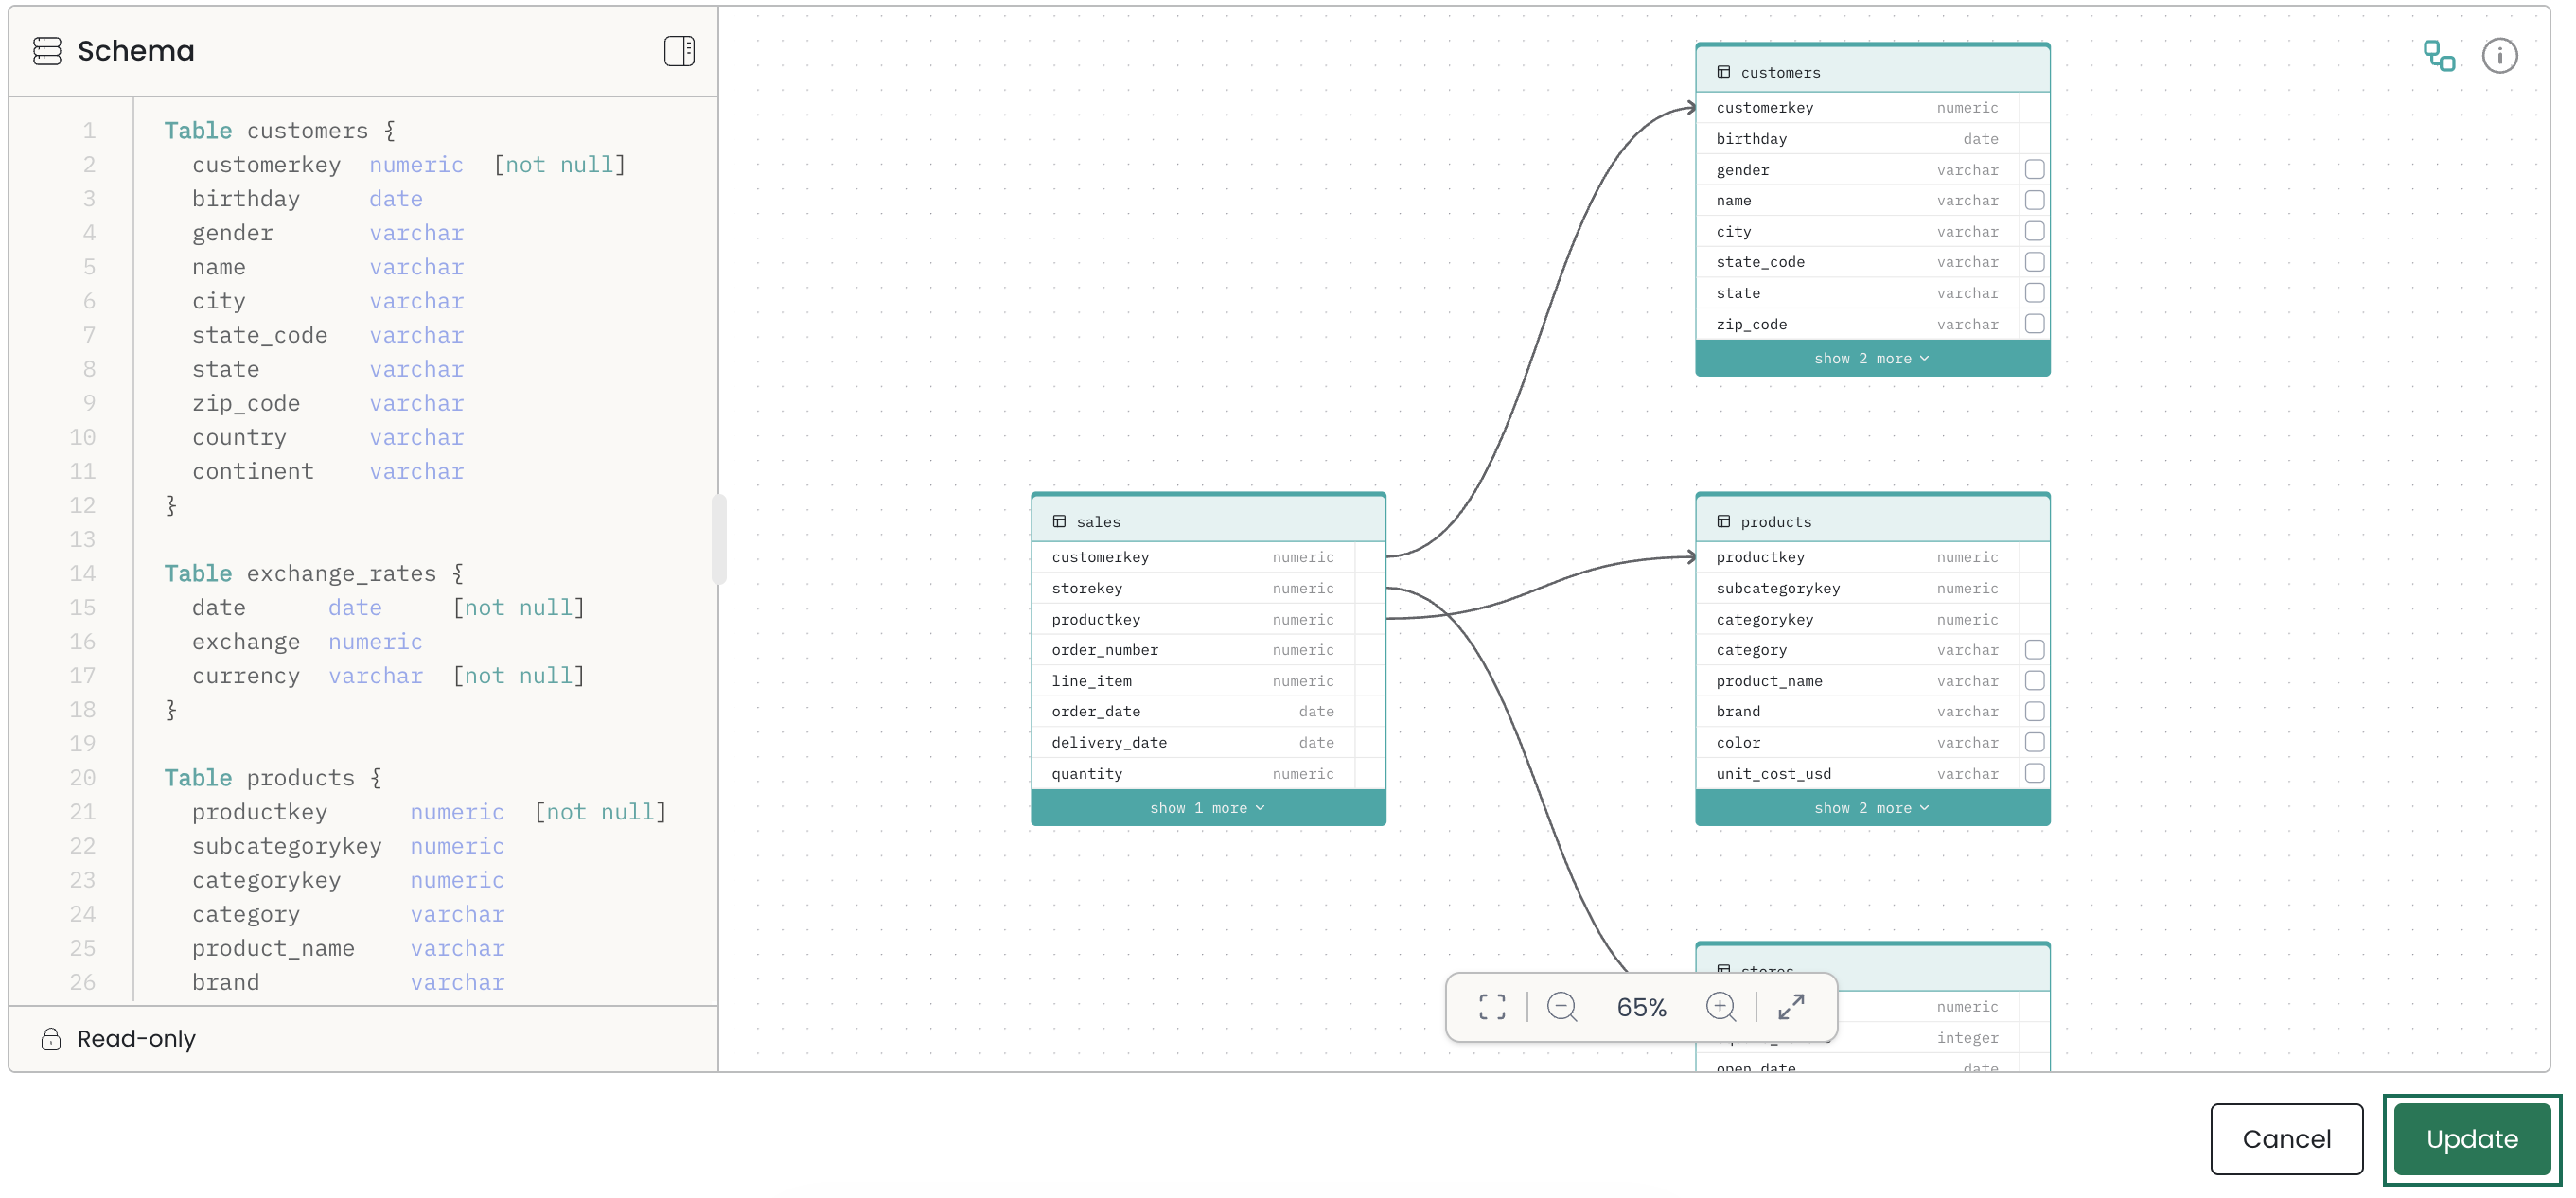
The Schema is where you define the structure of your database: which tables exist, what columns they contain, and how they relate to each other. This is expressed in DBML (Database Markup Language).
What you see
The schema has two panels side by side:
- Left — DBML viewer: A read-only display of the DBML definition of your schema. This updates automatically as you make changes in the diagram. You cannot edit the DBML directly.
- Right — Visual diagram: An interactive node graph where you manage your schema. Tables appear as nodes and relationships appear as connecting lines.
How the schema is populated
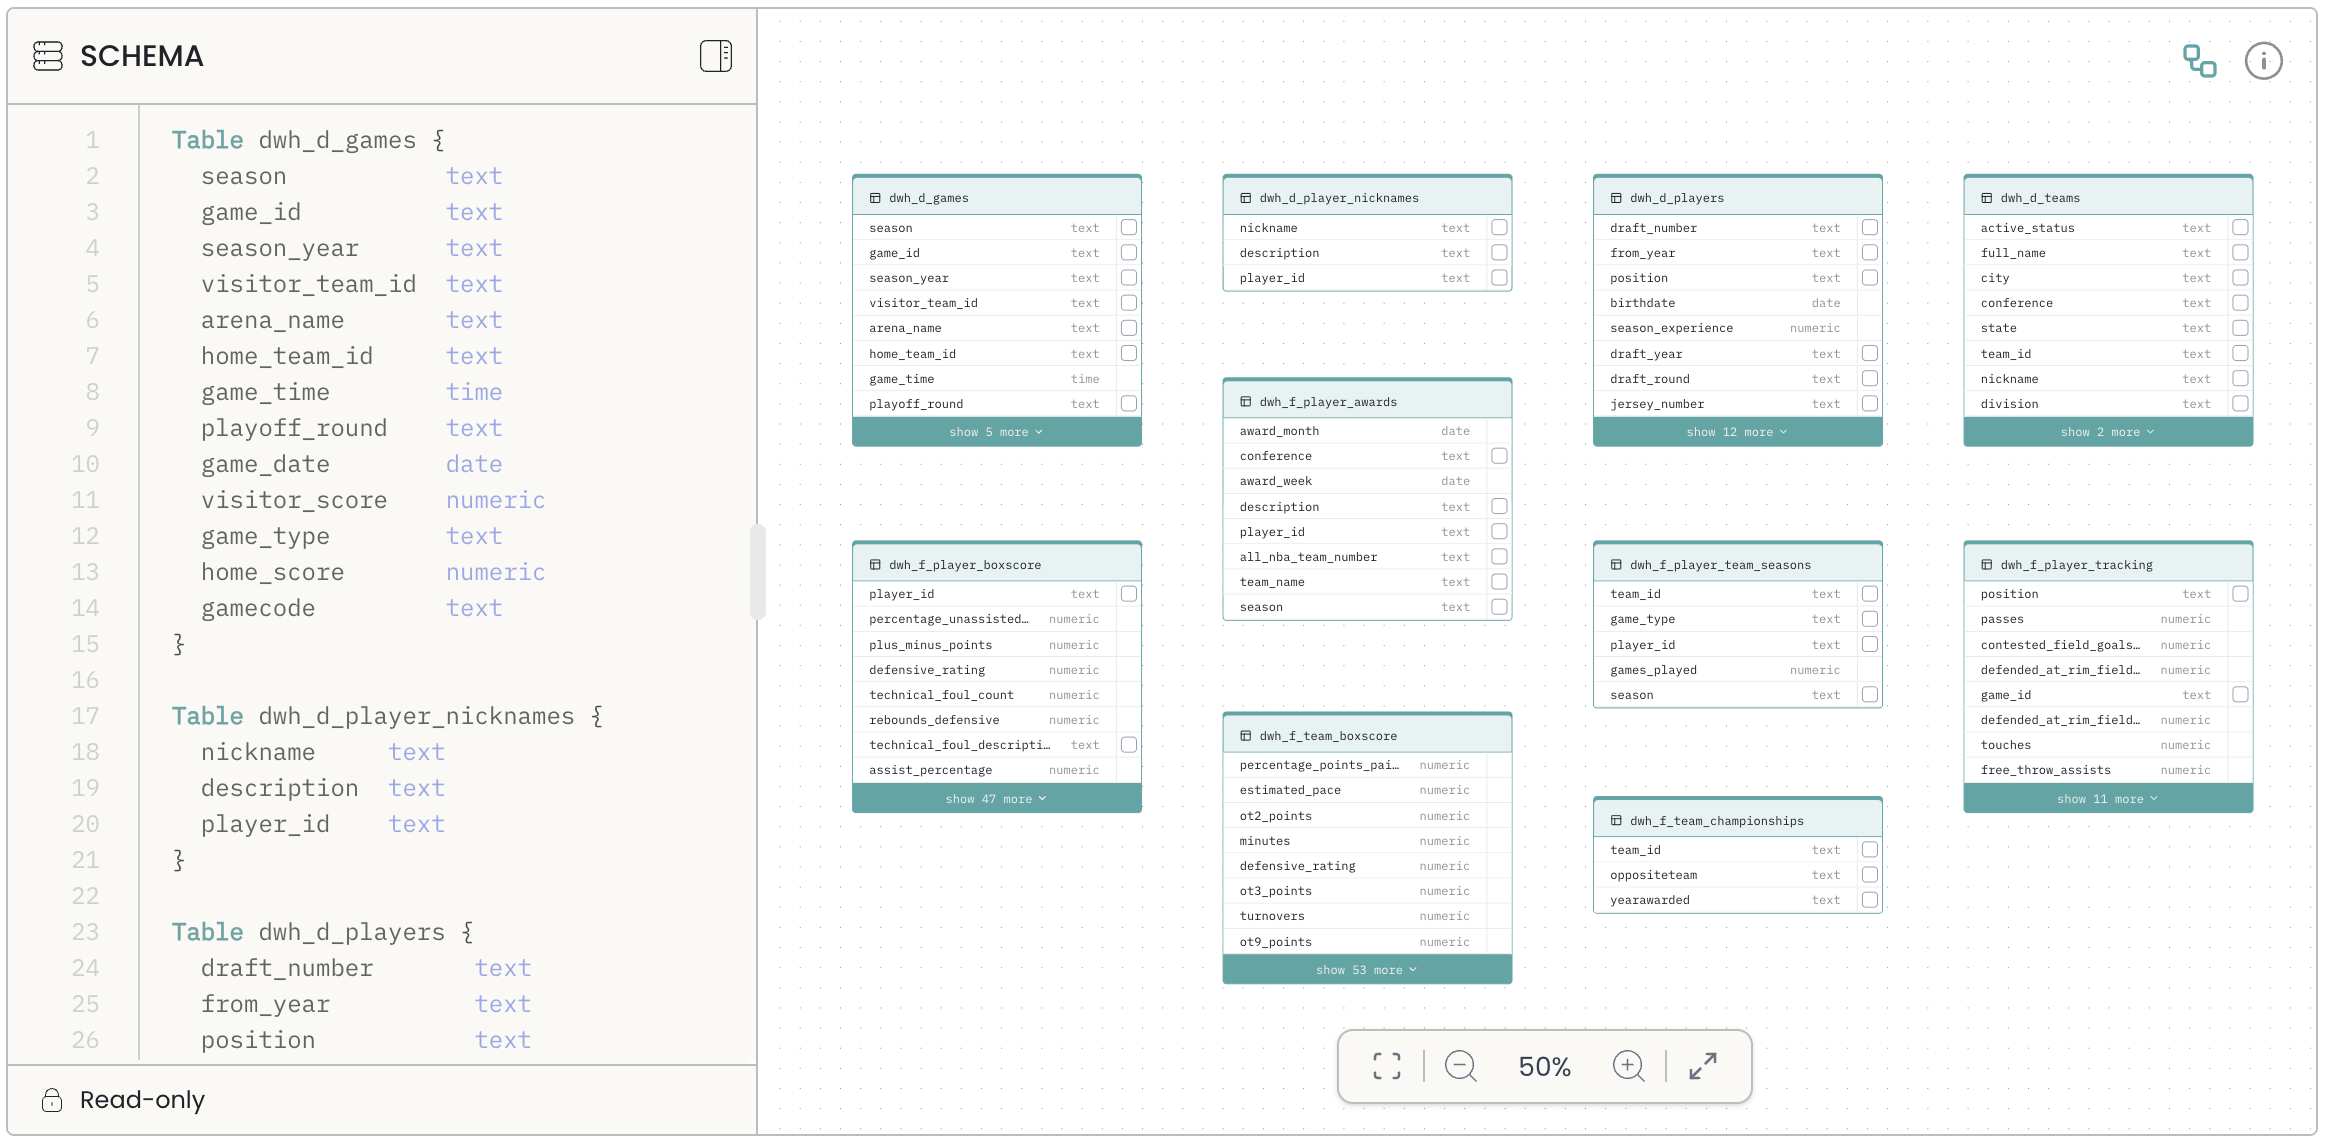
When you connect a database, the schema is automatically pulled and displayed. The DBML is generated for you — you do not need to write it manually.
If you are using a CSV file as your data source, the schema is inferred from the file's columns and types.
Working with the diagram
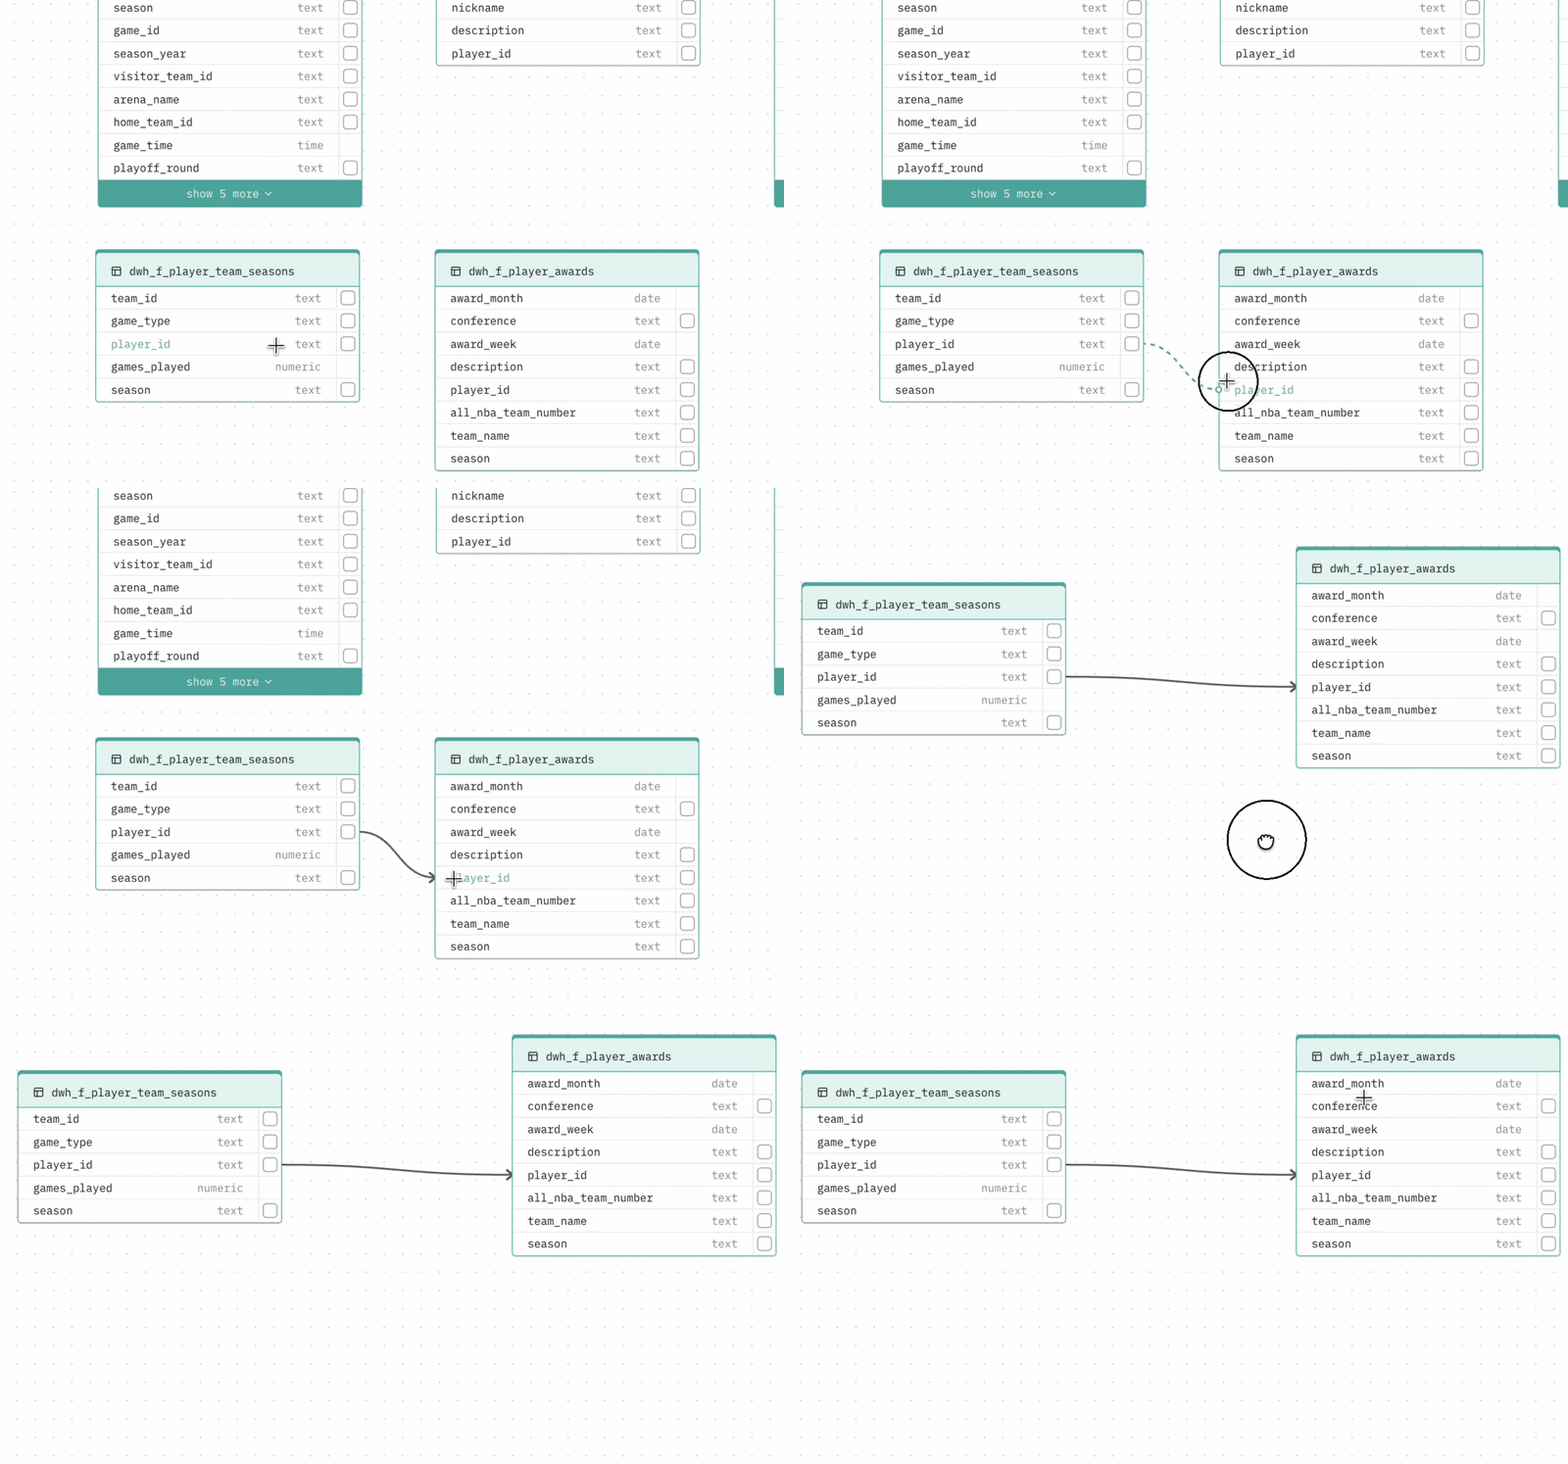
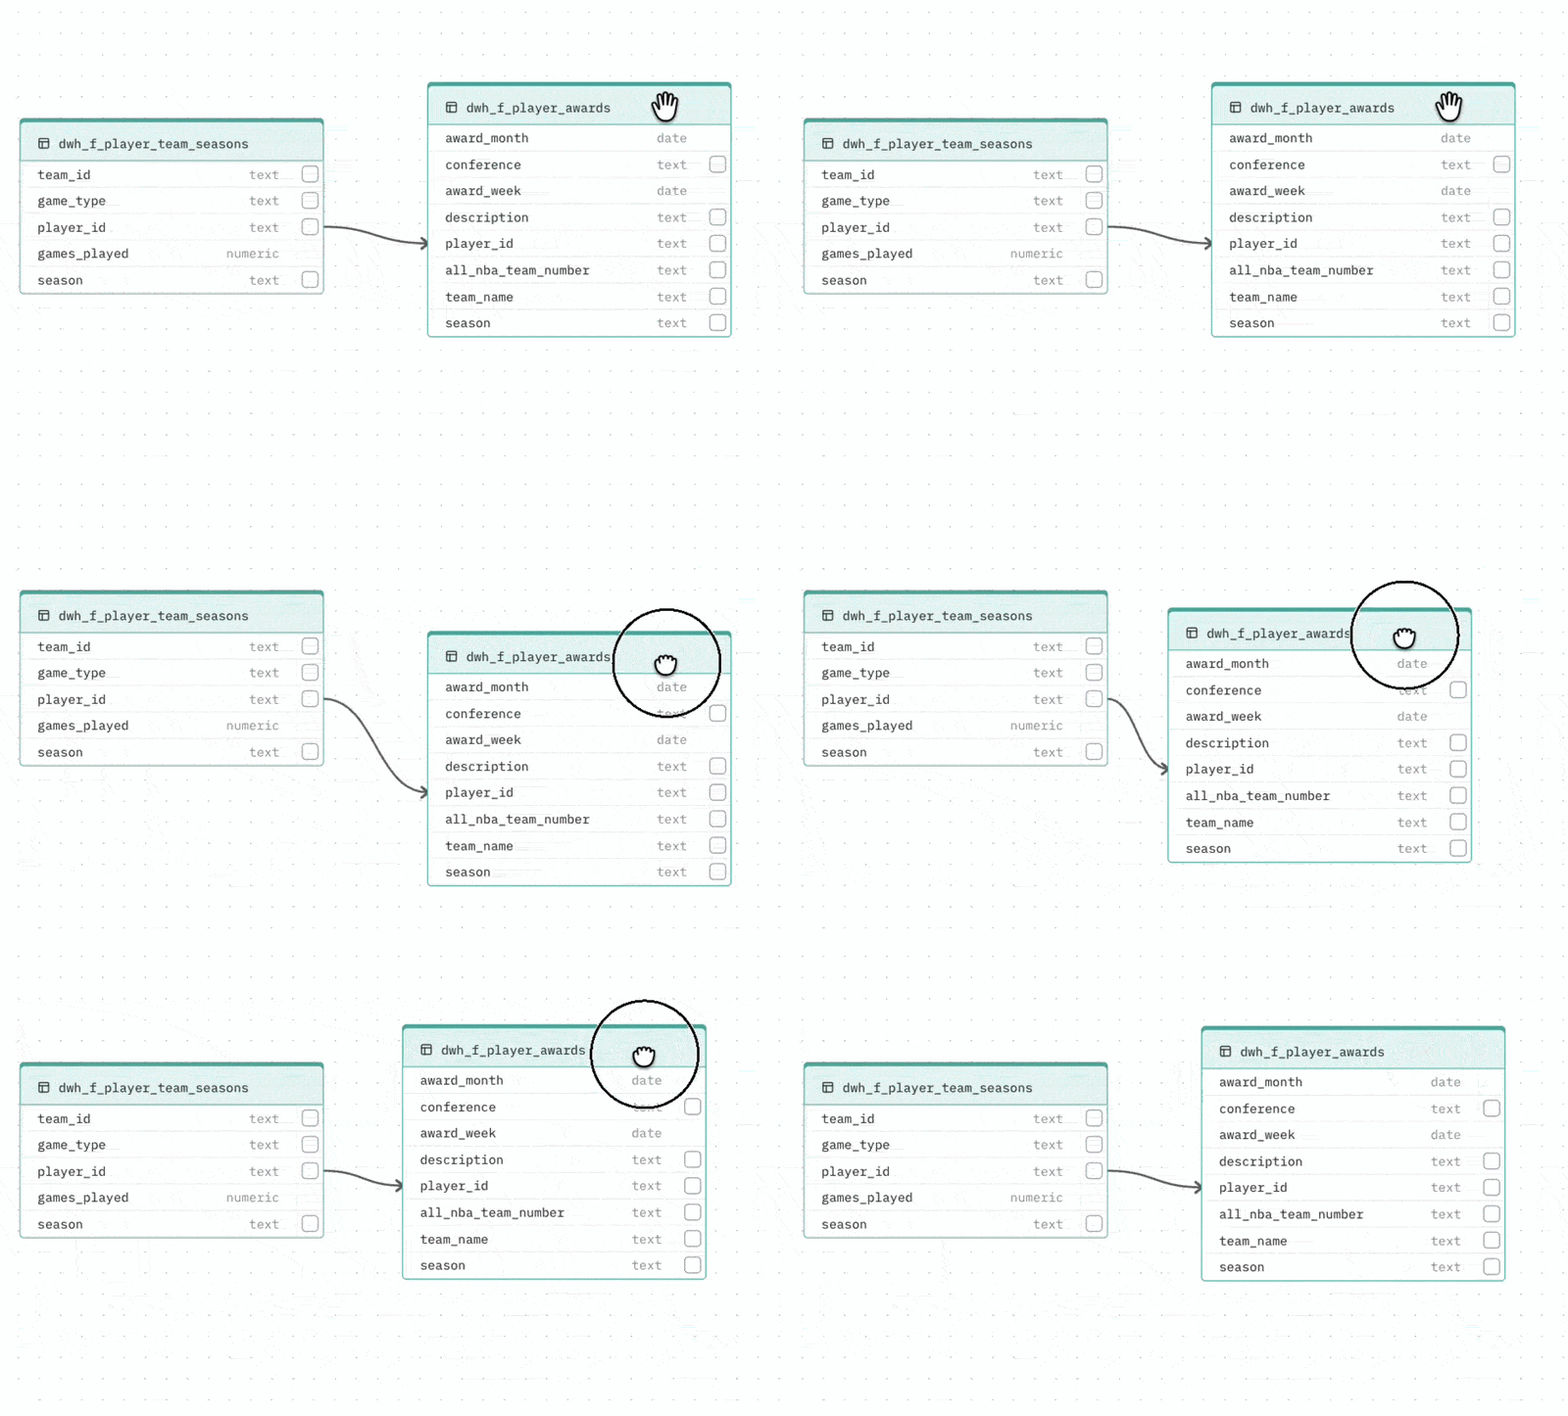
Adding a relationship If your database does not enforce foreign keys at the schema level, the auto-generated schema may be missing relationships your Agent needs. To add one, drag from the handle on a column in one table to a column in another table. The relationship line is created and the DBML viewer updates automatically.
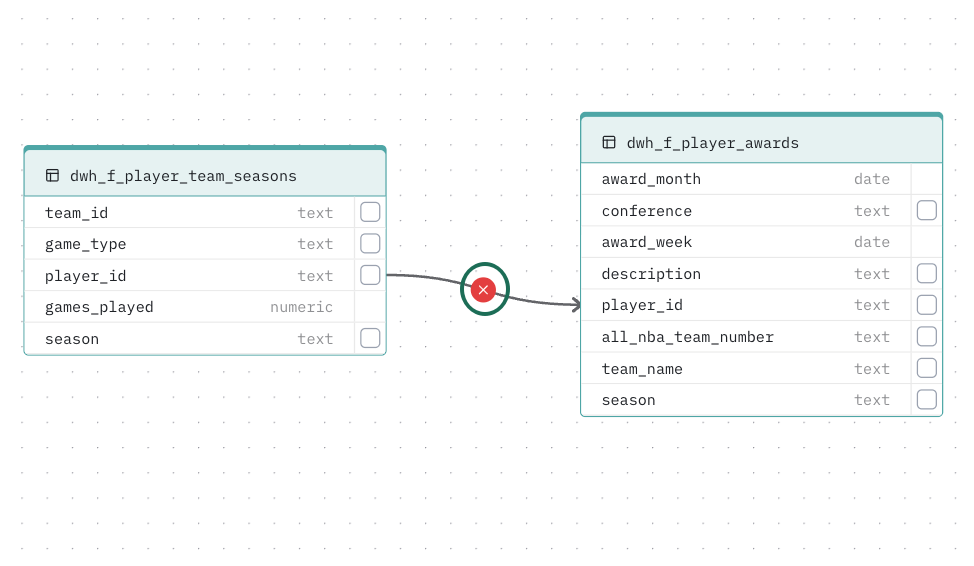
Deleting a relationship Hover over a relationship line and click the X button that appears.
Moving tables Drag any table node to reposition it. Use the fit-view button to reset the layout. An auto-arrange toggle is also available if you prefer automatic positioning.
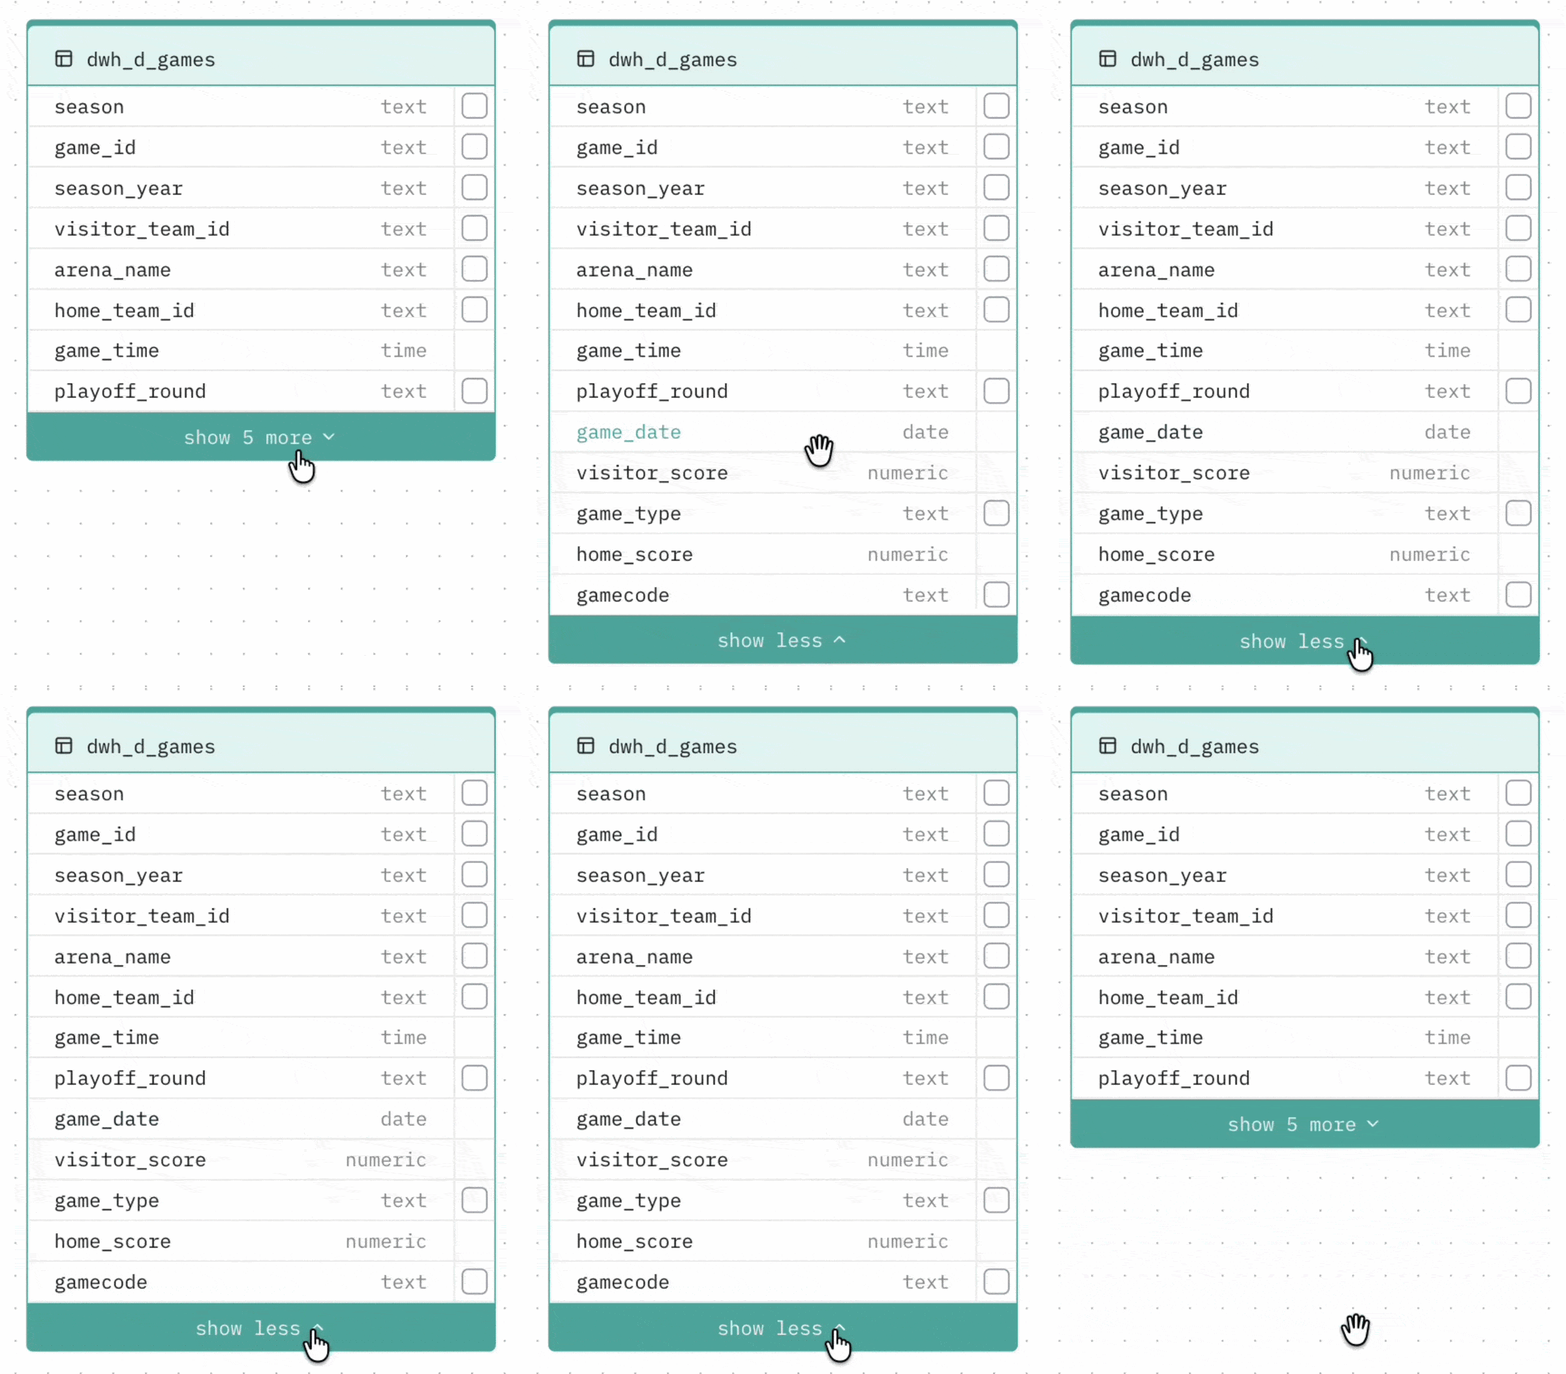
Collapsing large tables Tables with more than 8 columns can be collapsed to show only the most relevant columns (those involved in relationships). Click the toggle at the bottom of the table to expand or collapse it.
Selecting columns to cache
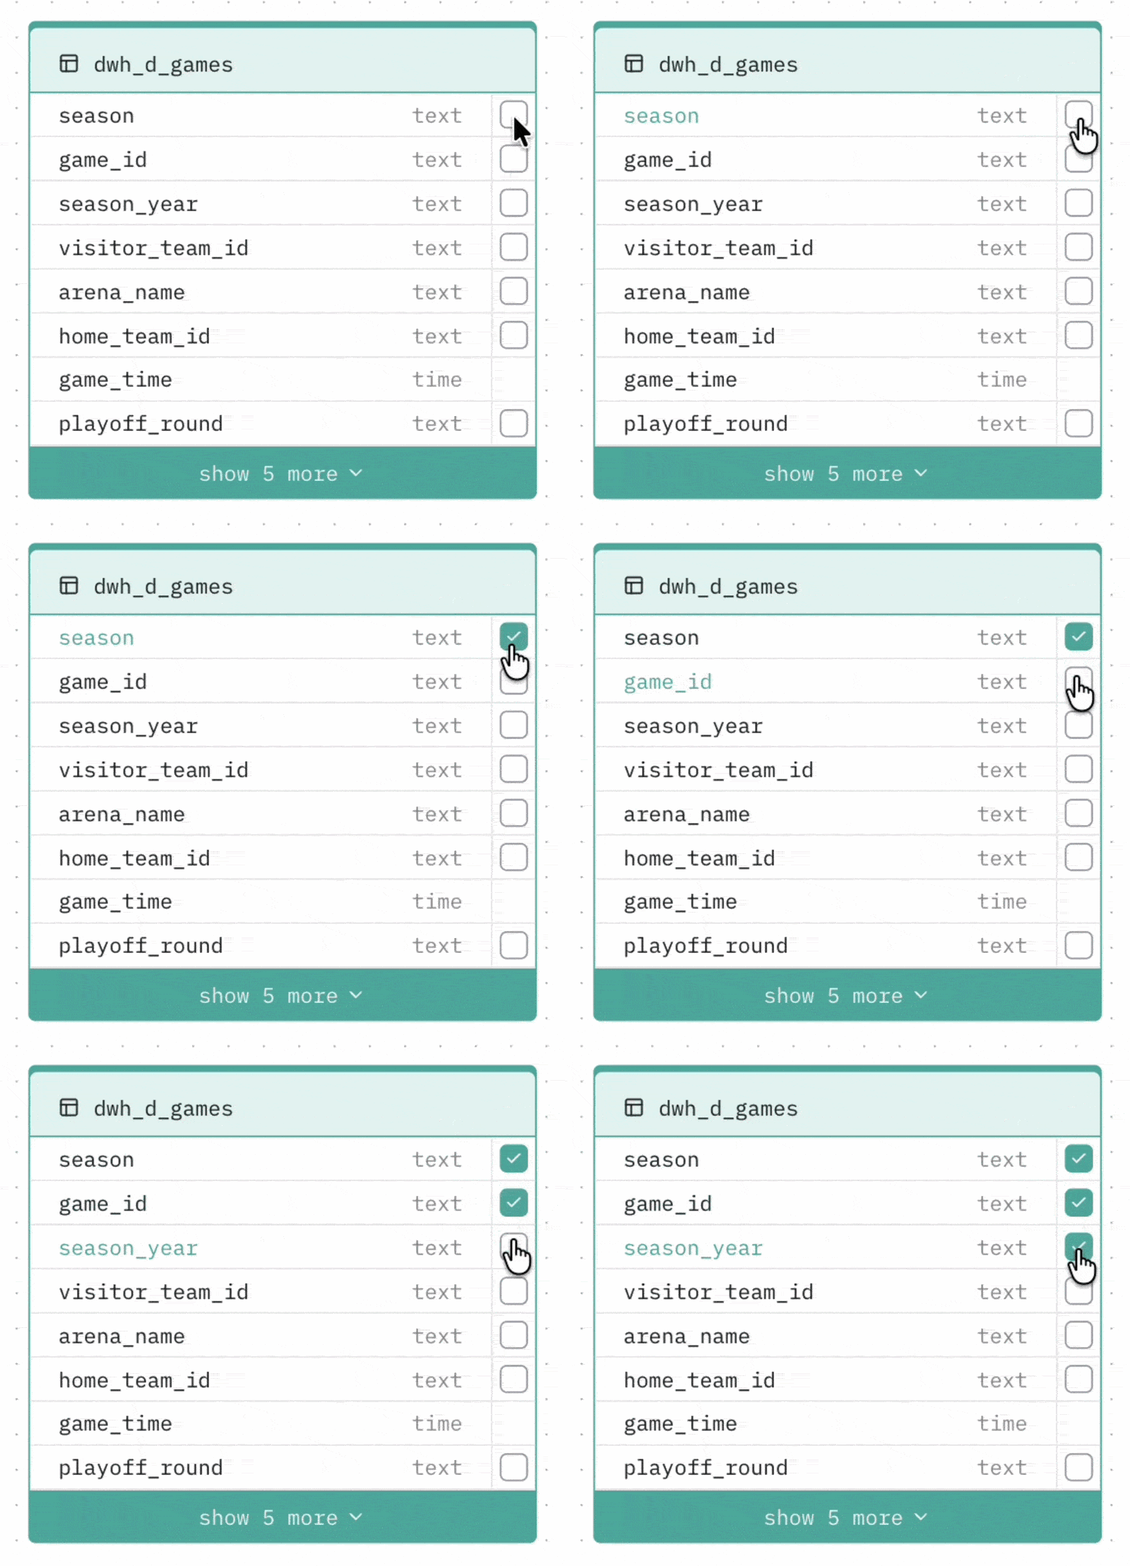
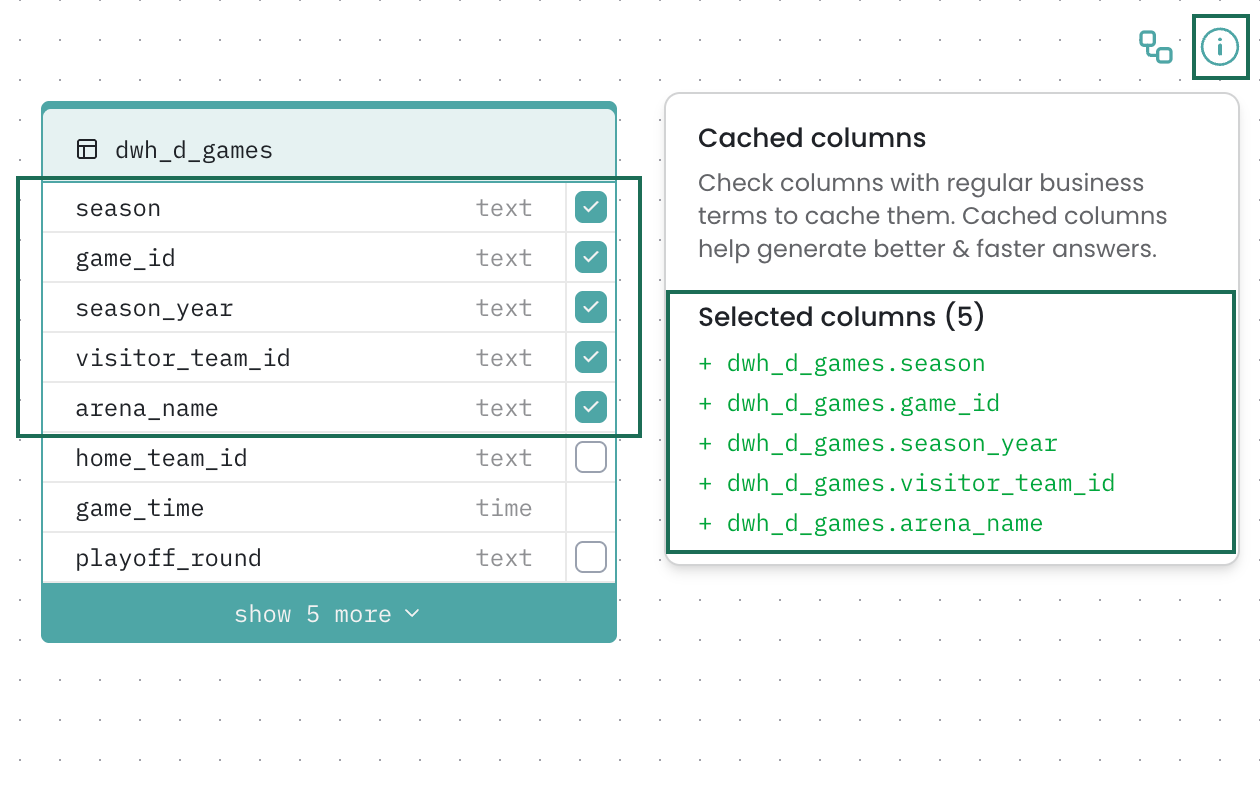
You can mark specific columns as cached. Cached columns are indexed and prioritised when the Agent generates SQL — this is useful for columns that are frequently used in filters or groupings (e.g. status fields, category columns, date fields with a fixed set of values).
To cache a column, check the checkbox next to it in the visual diagram.
Limit: Up to 20 columns can be cached per Agent.
Saving the schema
Click Next (or Update if editing an existing Agent) to save the schema and move to the Semantics tab. The schema is saved along with your selected cached columns.