Quick Start Guide – Denzing
Sign up in Denzing
- Navigate to the Denzing sign-in page.
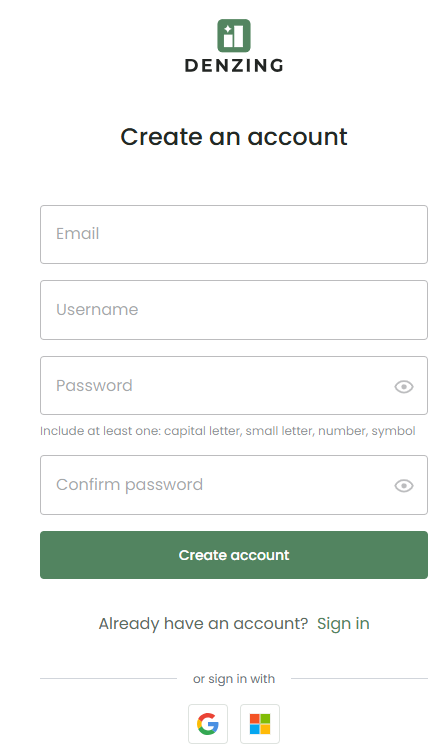
- Click or tap on the Sign Up link located below the sign-in form.
- Enter your personal details to sign up:
- Username: Must be a unique username.
- Password: Must include at least one uppercase letter, one lowercase letter, one special character, and a number.
- Confirm Password: Must match the password.
- E-mail: Your email address to create your account and receive information.
- You will be redirected to the Profile Setup page. Fill in additional details such as full name, phone number, etc., and then click Continue.
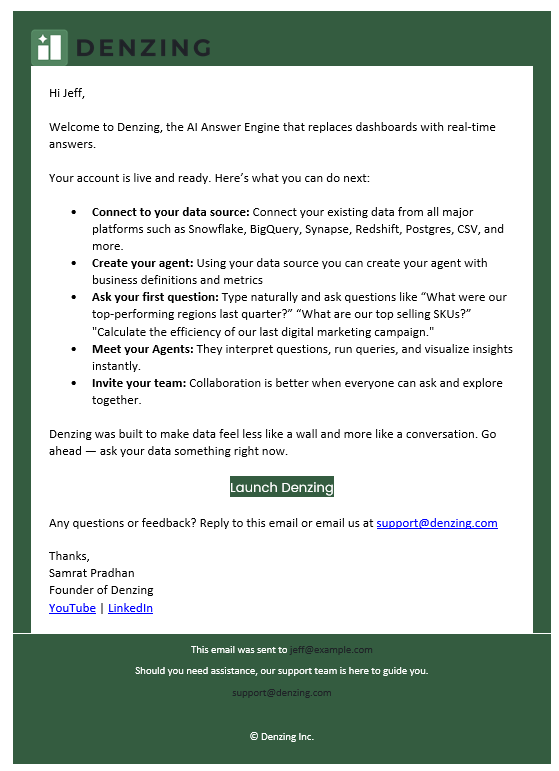
- Your account on Denzing will be successfully created. You will also receive a welcome email confirming your registration.
- After completing the registration, you will receive a confirmation email to verify that your email has been successfully registered in our system.
Logging in Denzing
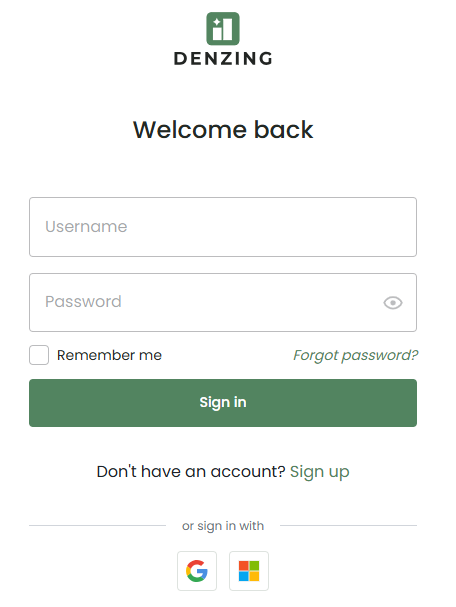
- Navigate to the Denzing sign-in page. Enter your username and password.
- Click the eye icon to show or hide your password.
- Optional: Check Remember Me to save credentials on your device.
- Click Forgot Password? to reset your password if necessary.
- Click Sign In to access your account.
- Alternative sign-in methods: Use Google or Microsoft accounts by clicking the respective icons.
After logging in, you will land in the following page:
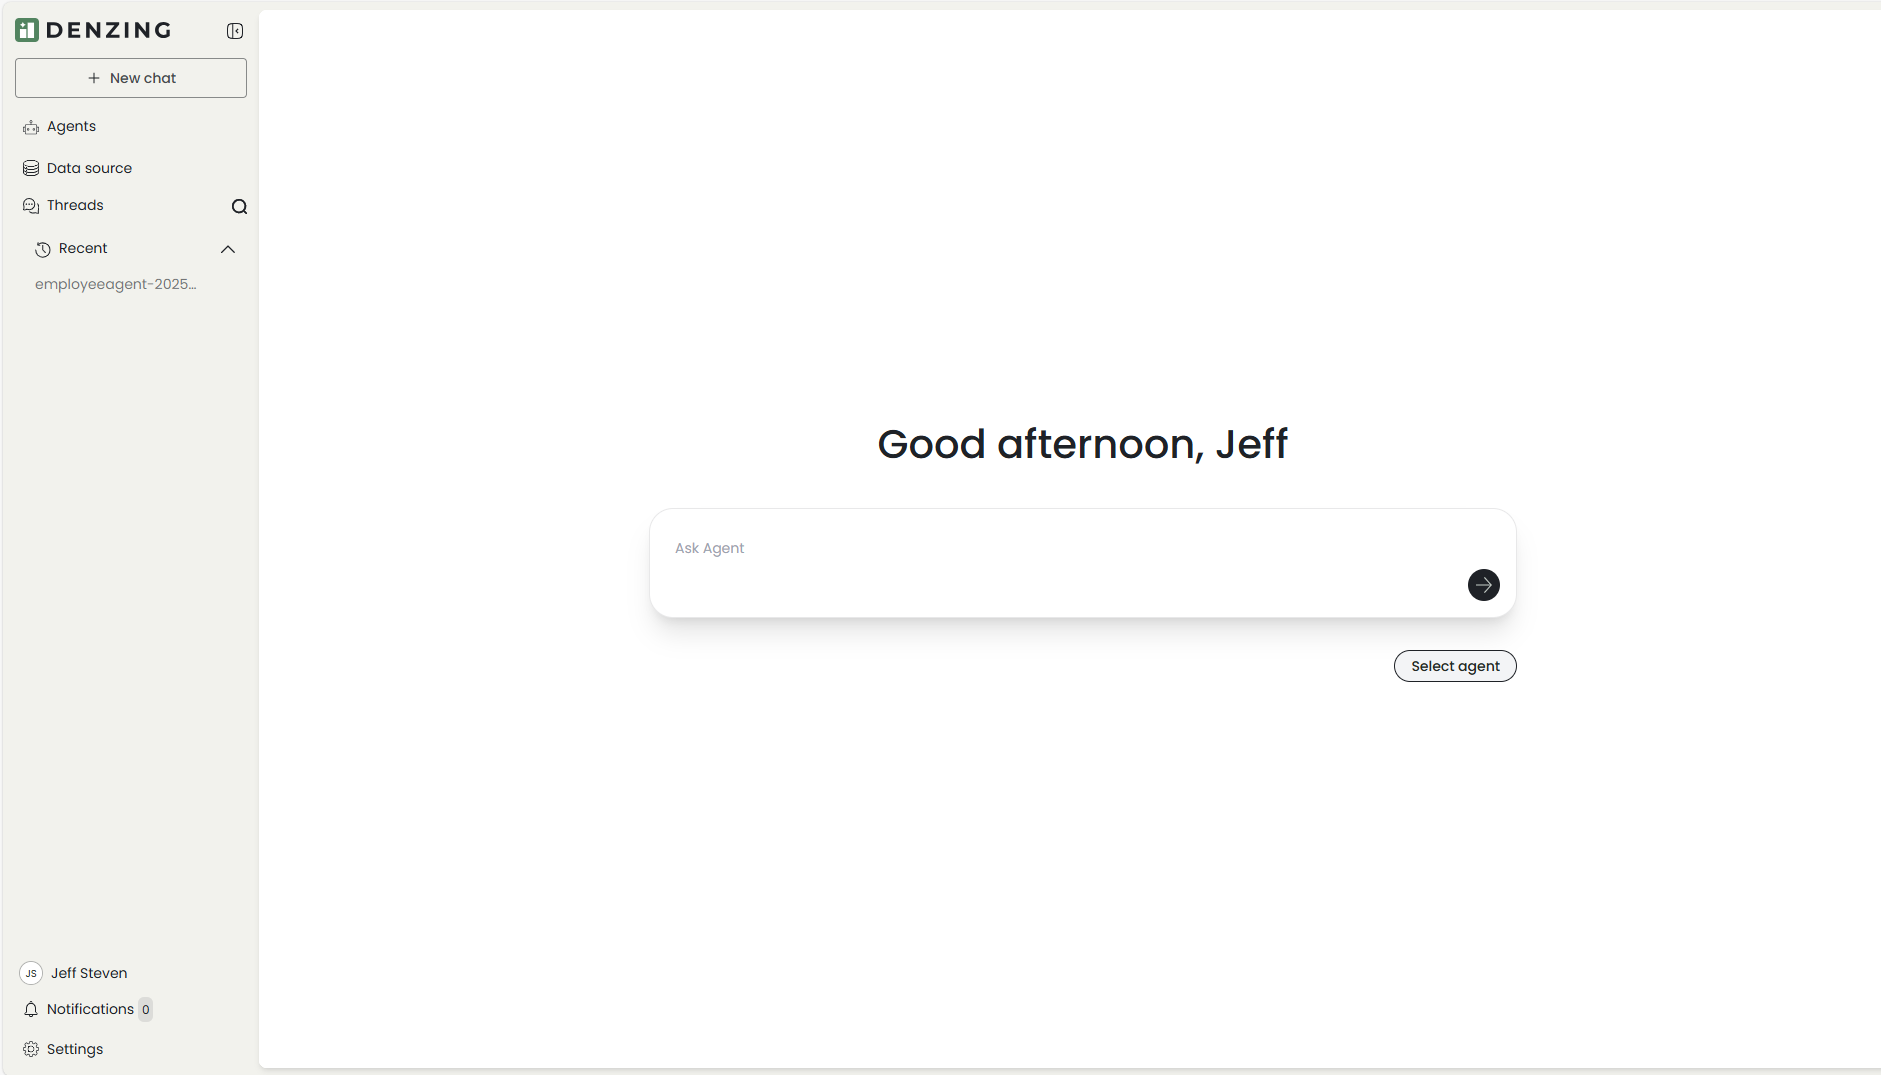
If you already have some agents shared with your you can select agent to chat.
Chat with Public Agent
When first logging in, no agents are available on the Agent page. To start chatting:
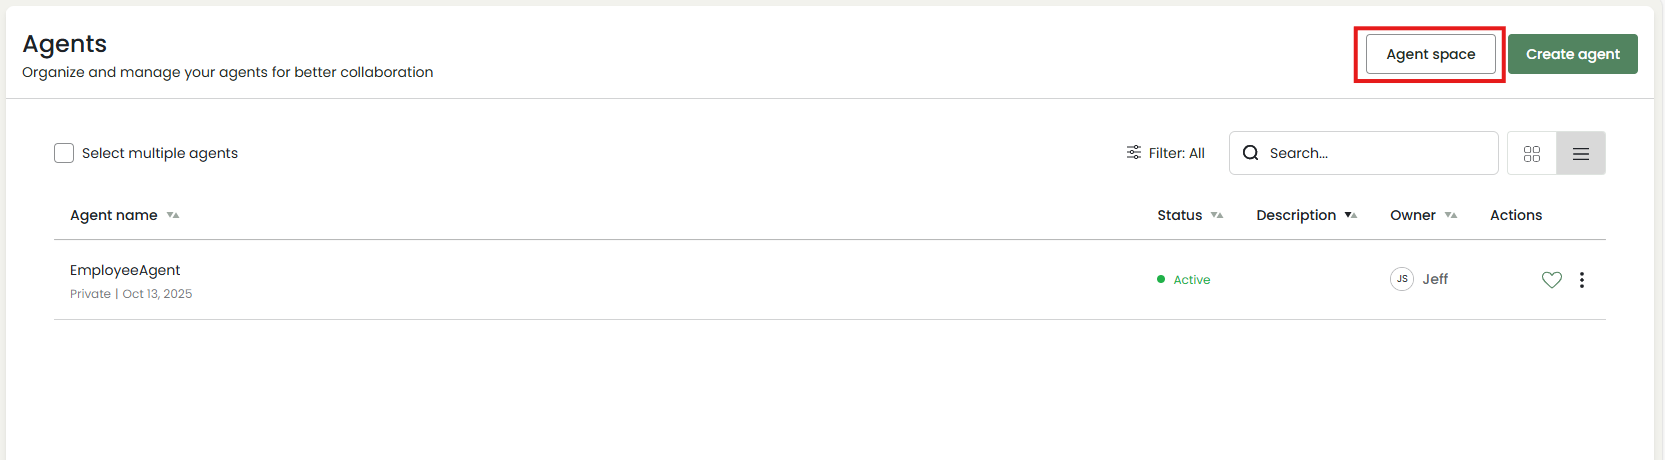
- Click on Agents from the sidebar. This loads the agent listing page.
- Click on Agent Space, on top right side of the agent page, to browse public agents.
- The Agent Space page allows you to discover and subscribe to the public AI agents published by the administrator.
- Name: Unique identifier of the agent.
- Owner: Creator of the agent.
- Created Date: Date the agent was added.
- Status: Shows if the agent is online.
- Actions: A Subscribe button to add the agent to your account.
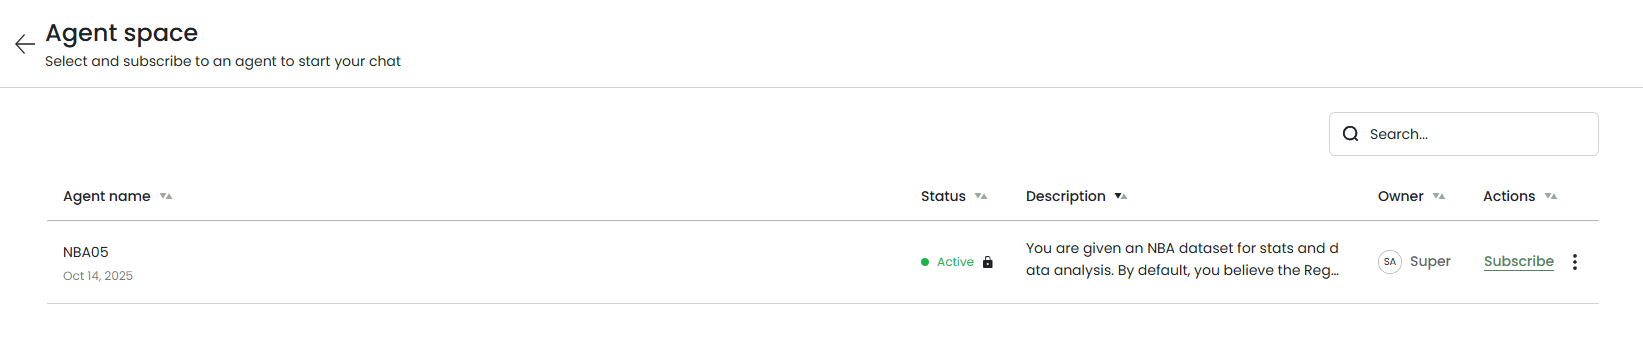
-
Click on Subscribe to subscribe the agent. The agent now will be added to your Agents page.
-
Click the chat button under the Actions column to start a conversation with subscribed agent.

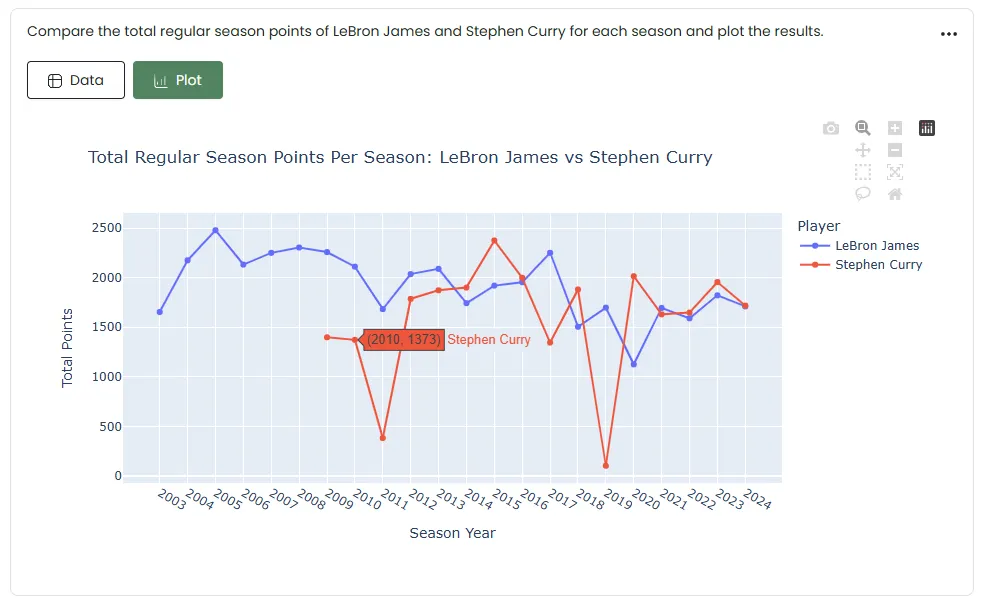
- You will be redirected to the Chat page, where you can ask questions, and the agent will respond accordingly.
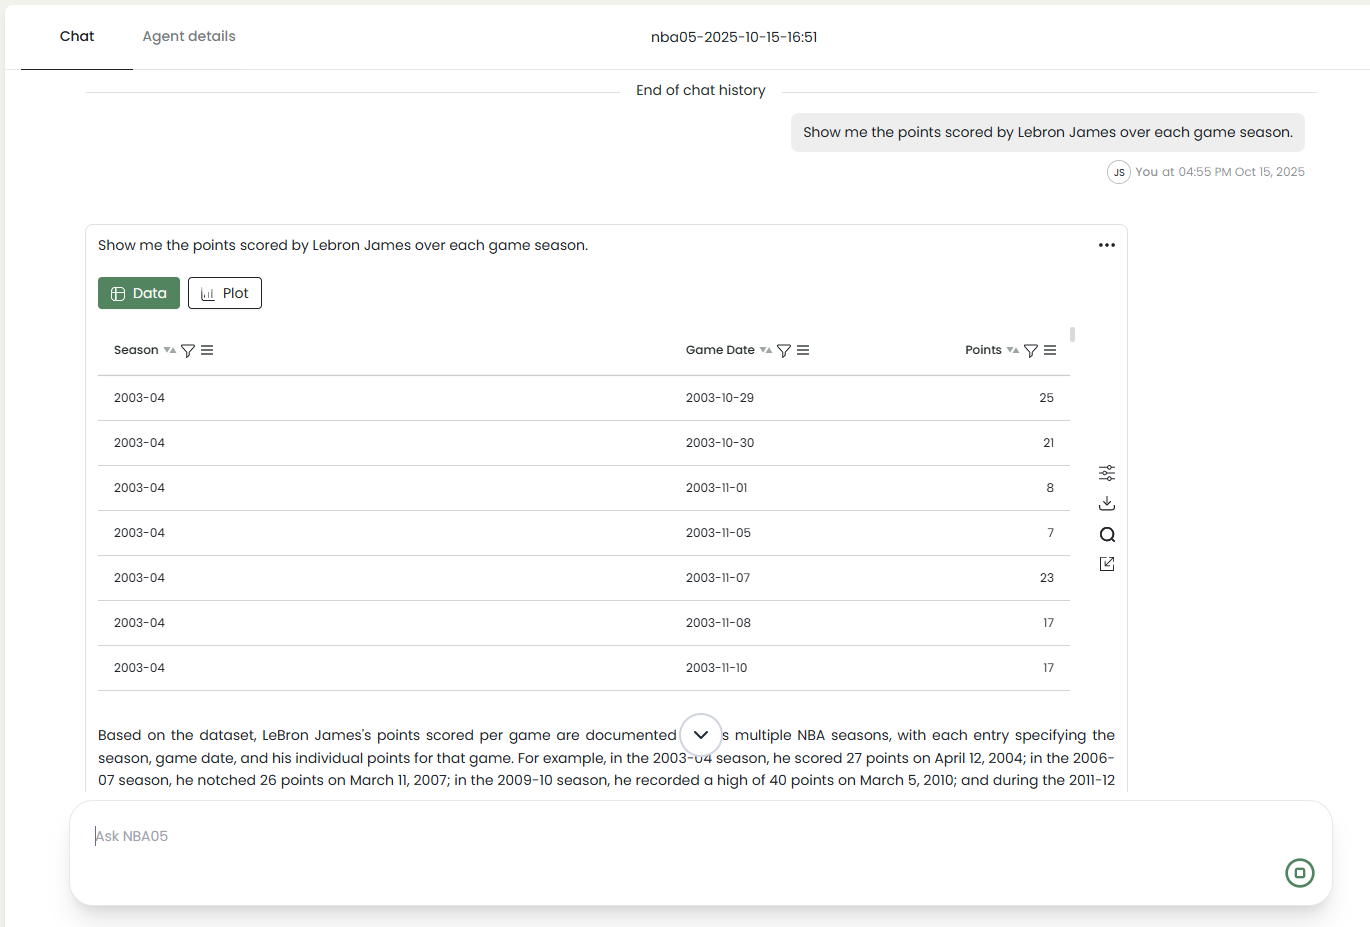
And, ask for a plot to visualize the output if needed.