Quick Start Guide – Denzing
Sign up to the system
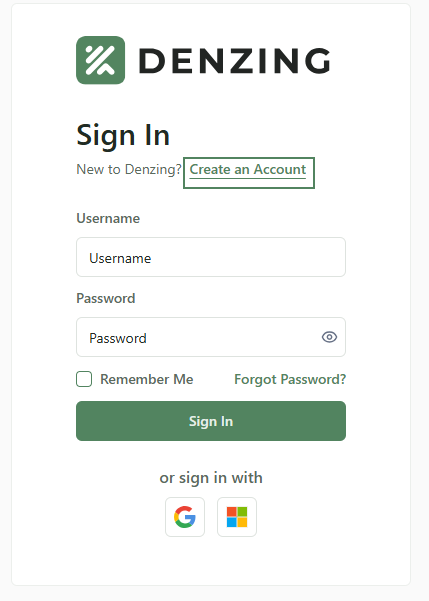
- Navigate to the Denzing sign-in page. Look for a button that says Create Account. It is located in the upper-right corner of the homepage or screen.
- Click or tap on this button to begin the account creation process.
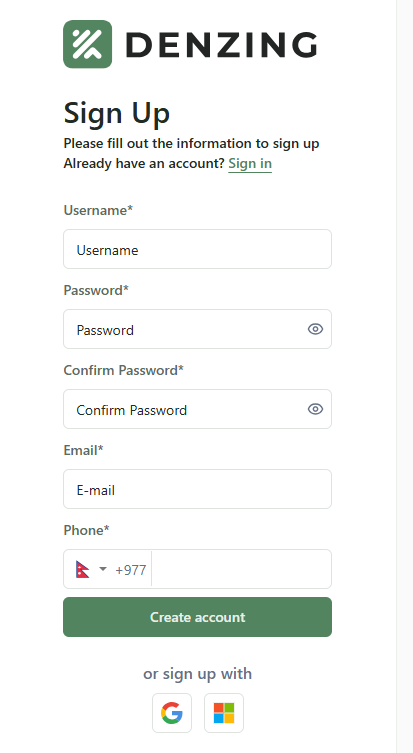
- Enter your personal details:
- Username: Enter a unique username.
- Password: Must include at least one uppercase letter, one lowercase letter, one special character, and a number.
- Confirm Password: Should match the password.
- E-mail: Enter your email address to create your account and receive information.
- Phone number: Enter your phone number with the country code.
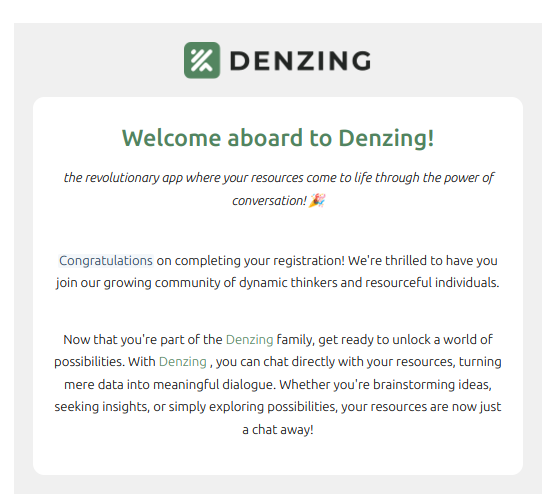
- Click Create Account. You will receive an email with a welcome message.
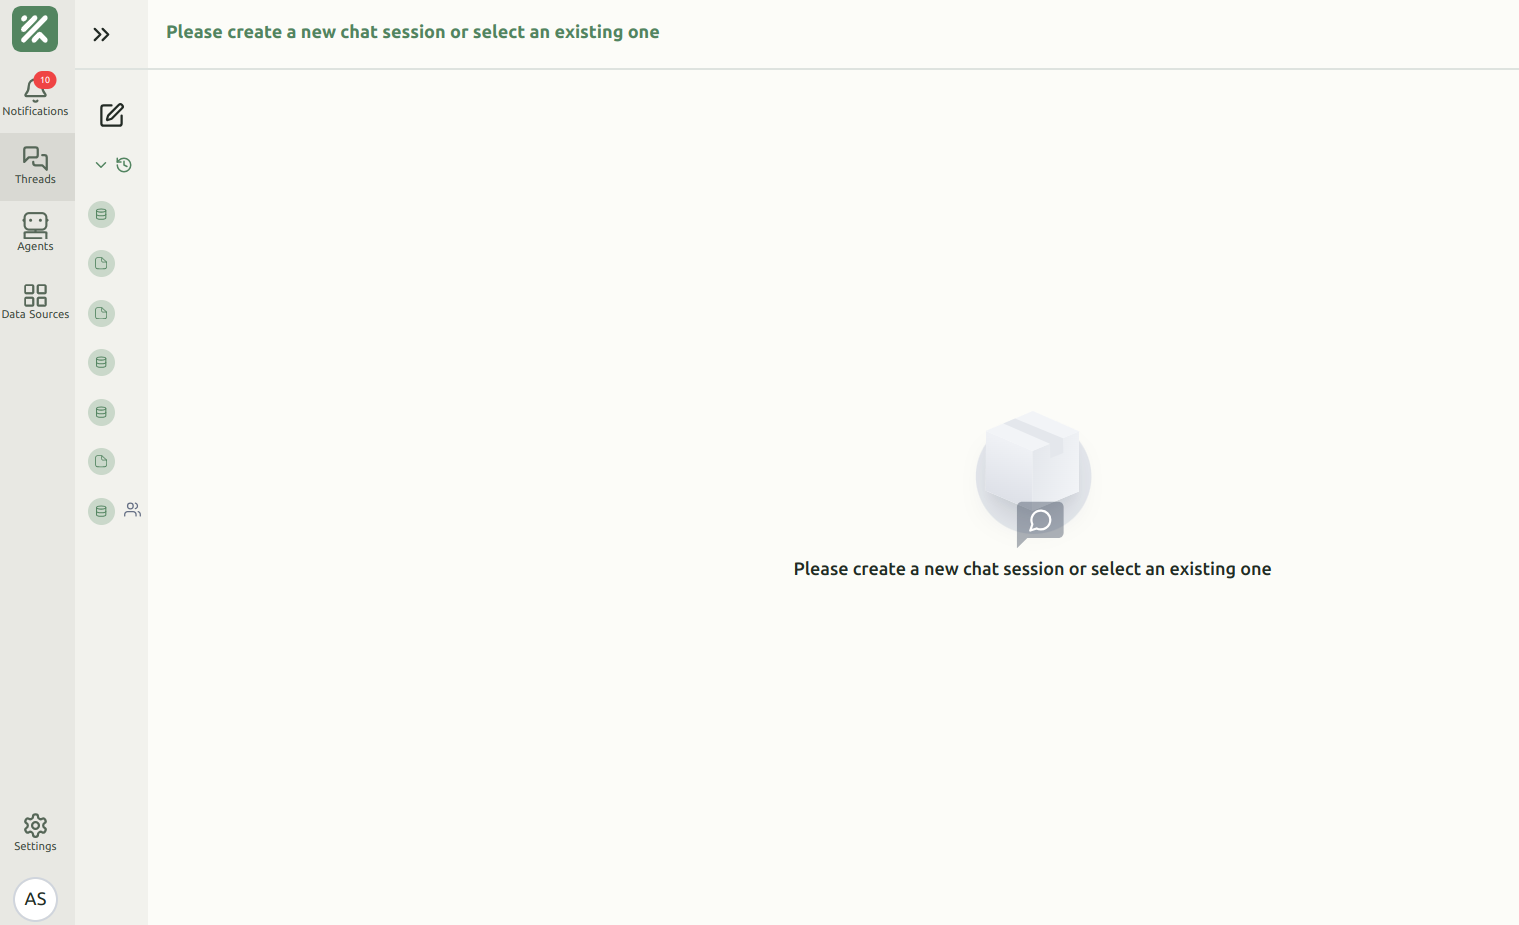
- After creating an account, you will be redirected to the application. The left sidebar contains different sections:
- Notifications: View alerts or updates.
- Threads: Manage and view conversation threads.
- Agents: Create and manage AI agents.
- Data Sources: Connect and manage data integrations.
- Settings: Adjust preferences.
After completing the registration, you will be sent an email to your mail address to confirm that your email has been sucessfully registered to out system.
Log in to the system
- Navigate to the Denzing sign-in page. Enter your username and password.
- Click the eye icon to show or hide your password.
- Optional: Check Remember Me to save credentials on your device.
- Click Forgot Password? to reset your password if necessary.
- Click Sign In to access your account.
- Alternative sign-in methods: Use Google or Microsoft accounts by clicking the respective icons.
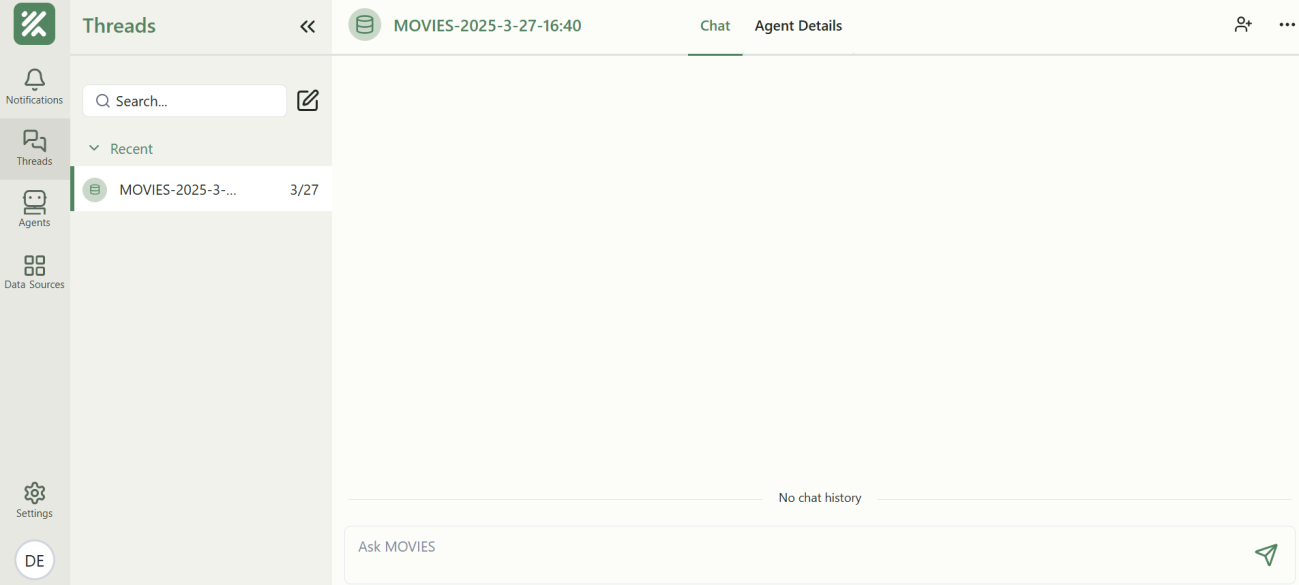
After logging in, the left sidebar contains the elements shown in the snapshot below:
Chat with Agent through Marketplace
When first logging in, no agents are available on the Threads page. To start chatting:
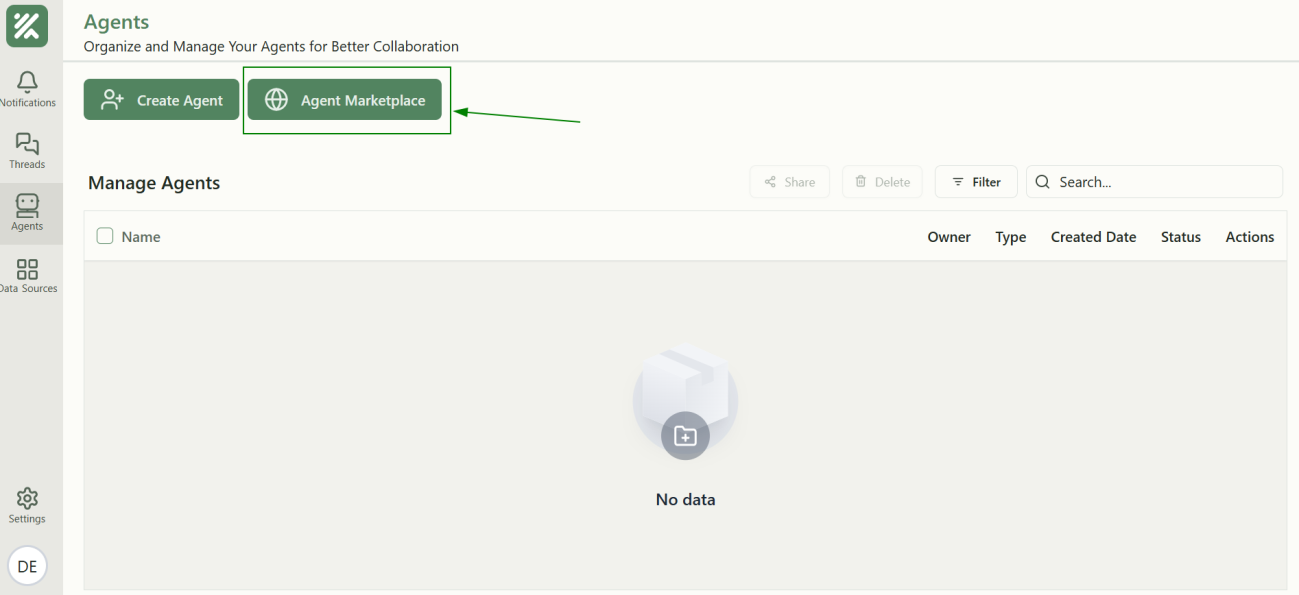
- Click on Agents from the sidebar.
- Click on Agent Marketplace.
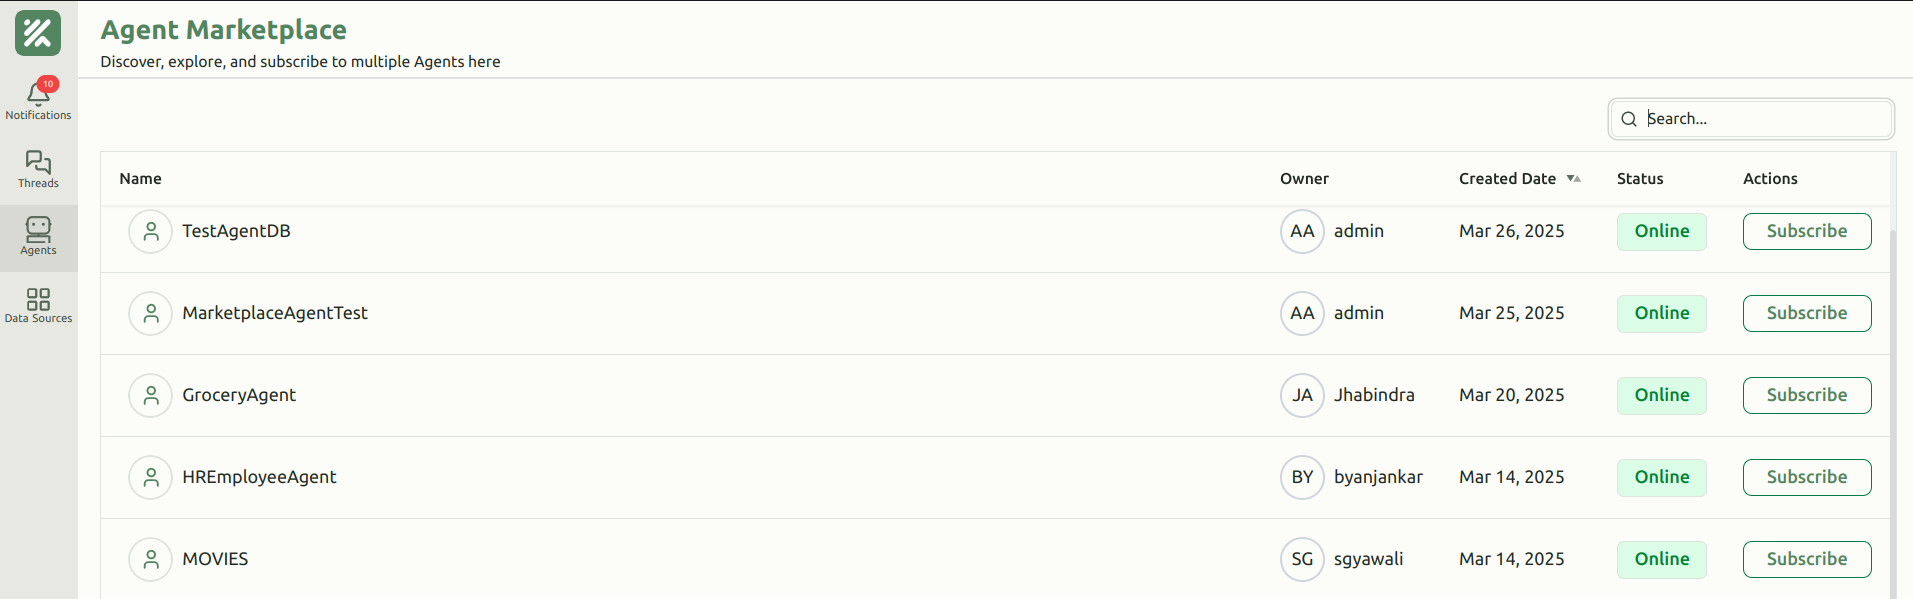
- The Agent Marketplace page allows you to discover and subscribe to AI agents. It displays:
- Name: Unique identifier of the agent.
- Owner: Creator of the agent.
- Created Date: Date the agent was added.
- Status: Shows if the agent is online.
- Actions: A Subscribe button to add the agent to your account.
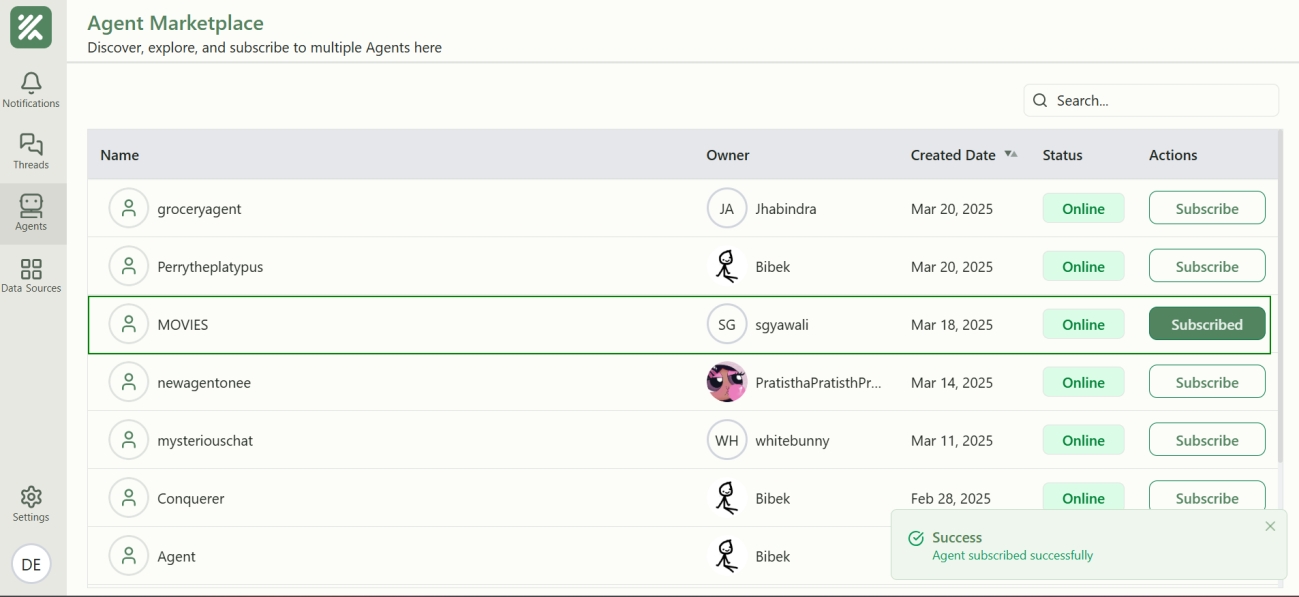
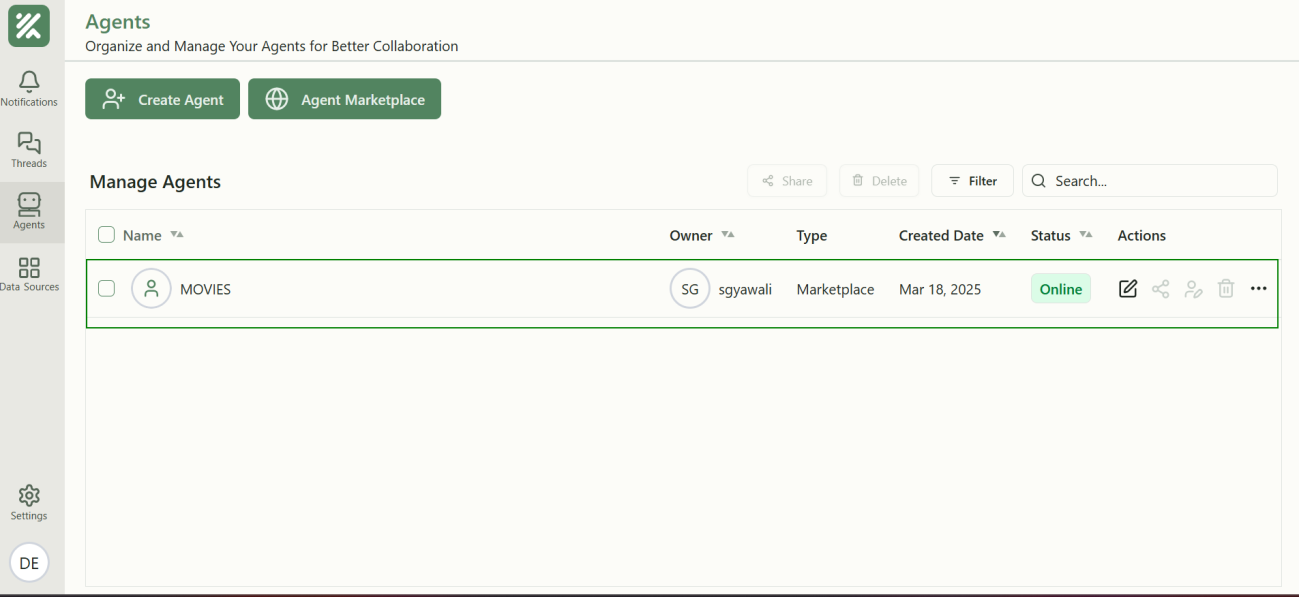
- Select one or more agents and click Subscribe. The agent will be added to your Agents page.
- Click the chat icon under the Actions column to start a conversation.
- You will be redirected to the Threads page, where you can ask questions, and the agent will respond accordingly.
- The agent might ask some questions to you, this process is the clarification process where the agent tries to get more context from your question before generating a precise answer for you.
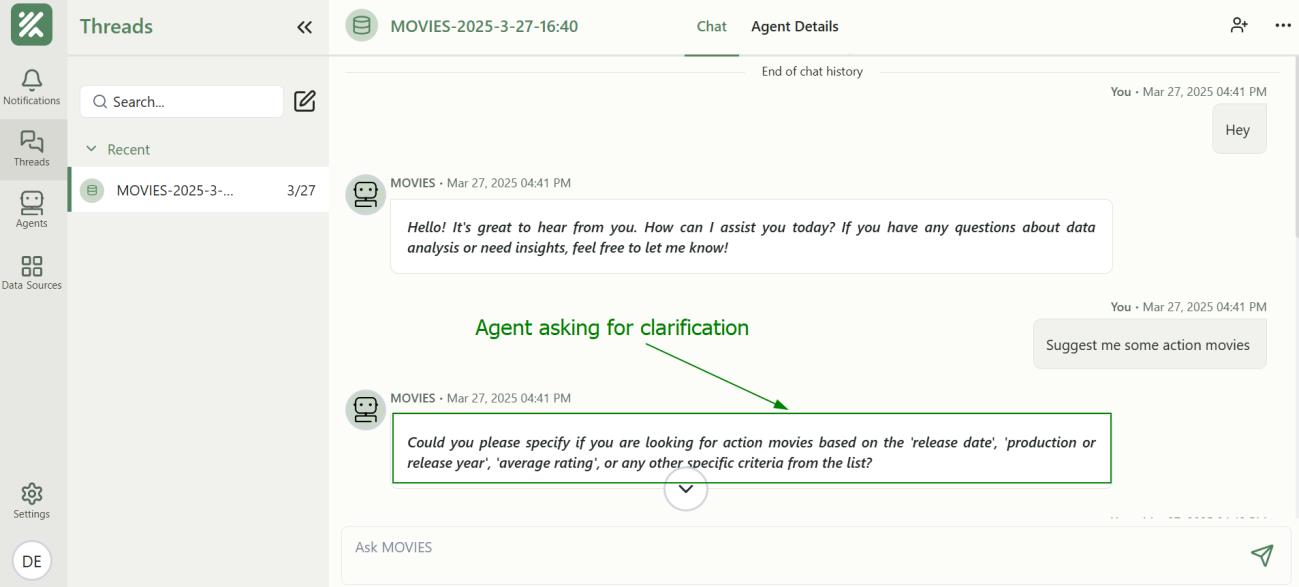
- You can answer these clarification questions to get a personalized answer from the agent for your original query.
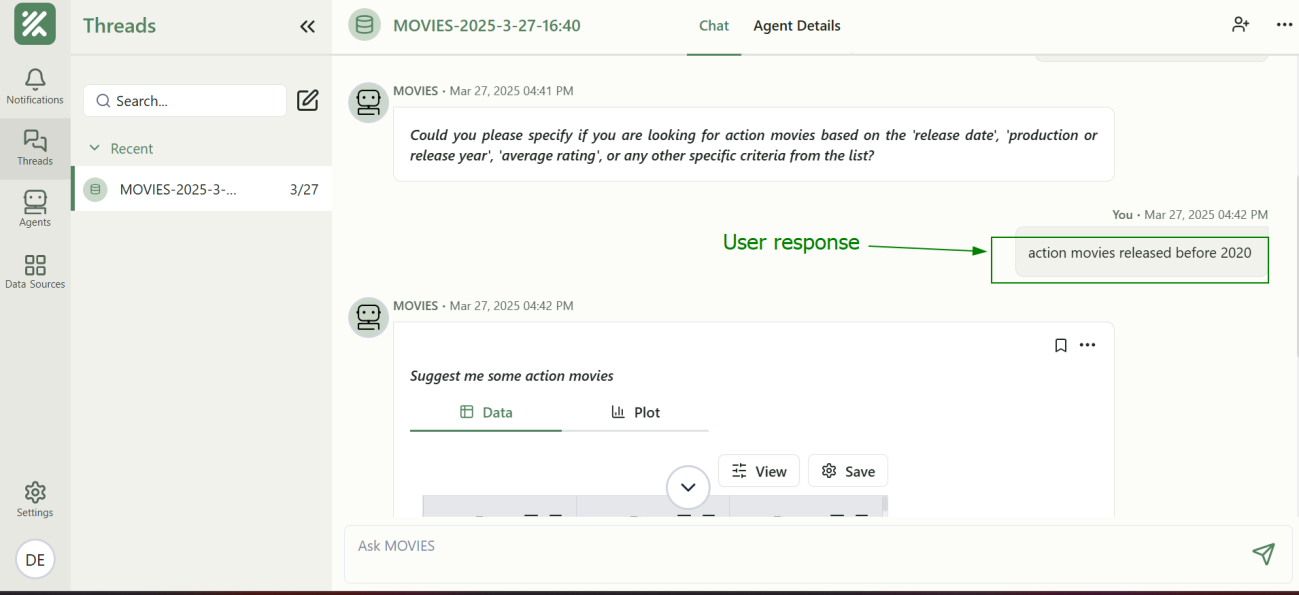
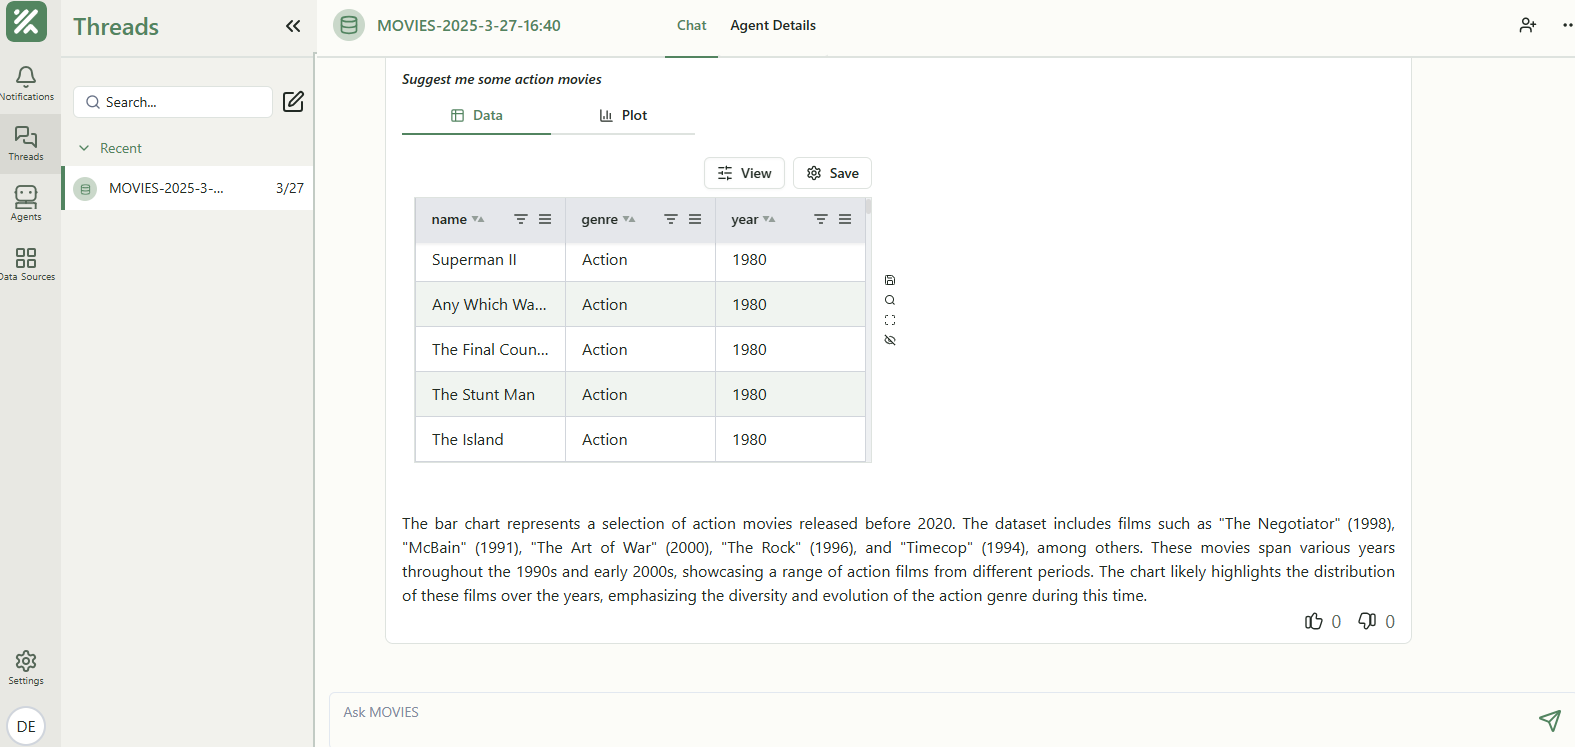
- Finally, the agent will generate an appropriate response for your original query.
Conclusion
The user journey begins with a straightforward sign-up or login process, allowing access to the platform. Once authenticated, the user is presented with a clean and intuitive left sidebar containing key sections like Notifications, Threads, Agents, Data Sources, and Settings.
Users can explore the Marketplace to discover and choose from a variety of agents. Upon selecting an agent, the user is directed to a chat interface, where they can initiate a conversation by sending a query. The selected agent may ask clarifying questions to better understand the user's intent. Once the necessary context is gathered, the agent processes the request and provides a final, precise answer.